Holiday Activities and Freebies!
As teachers, we know how hard it can be to truly disconnect from the classroom over the weekend. This is especially true when we know our lesson materials aren’t quite ready for Monday! I wanted to share my method of prepping and organizing lesson plan materials so you can feel prepared for the week ahead. You can relax each weekend, knowing that you won’t be standing in line at the copy machine on Monday morning.
After too many days of scrambling to get to the printer before a lesson, I decided that I needed a system to help me feel more prepared.
I came up with a two-crate system that took so much stress off my shoulders from the very first day of kindergarten to the last week of school. I was able to consistently get an entire week of lesson plans prepped and copied before the end of the day on Friday. Sometimes, I even found myself prepped two weeks in advance!
As you know, one of the biggest hurdles to getting ahead with lesson planning is that we have to do everything in short spurts of time. Our planning and copying efforts are often interrupted by other duties. We end up with piles of copies with sticky notes (if we’re lucky) in various corners of the classroom.
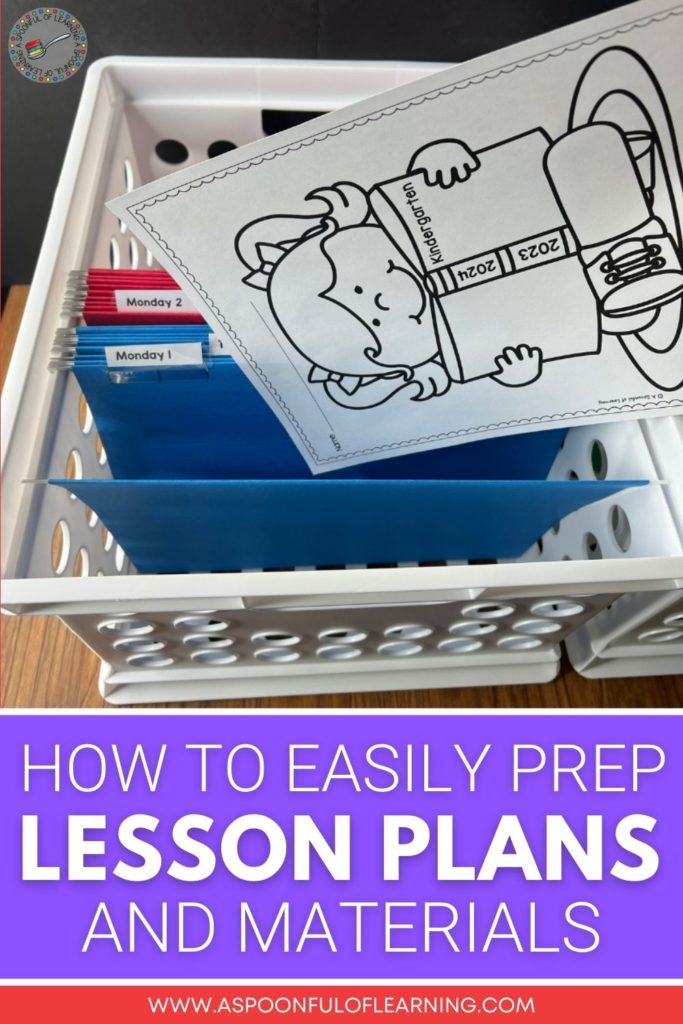
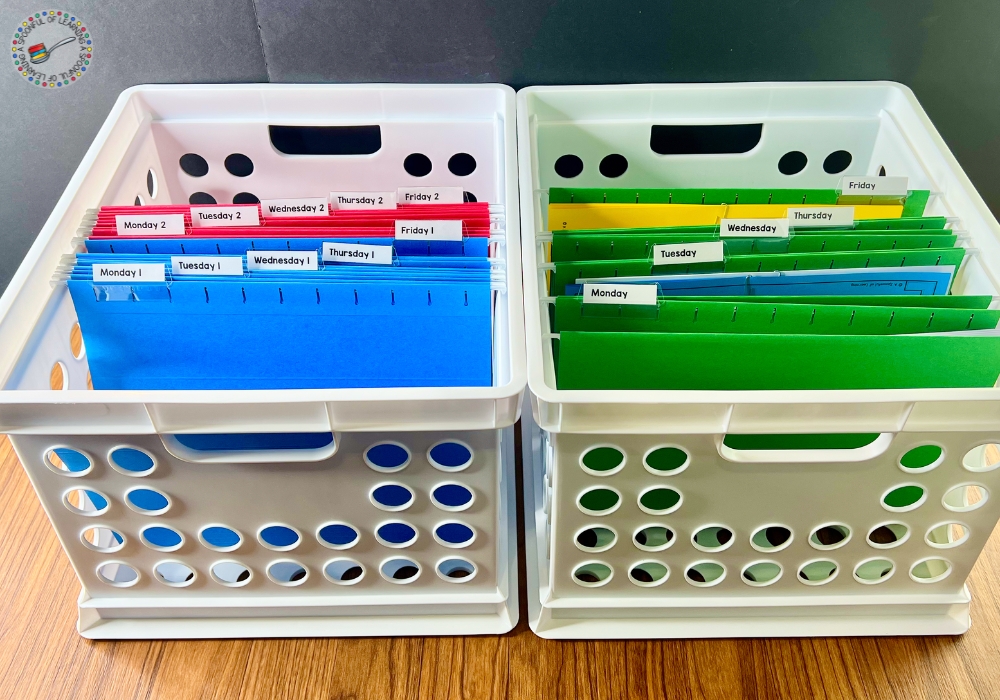
My method for organizing lesson materials uses two crates: The Planning Crate and the Ready to Go Crate. I’m going to walk you through exactly how you can use these crates to keep your planning on track in the small windows of prep time you get throughout the week.
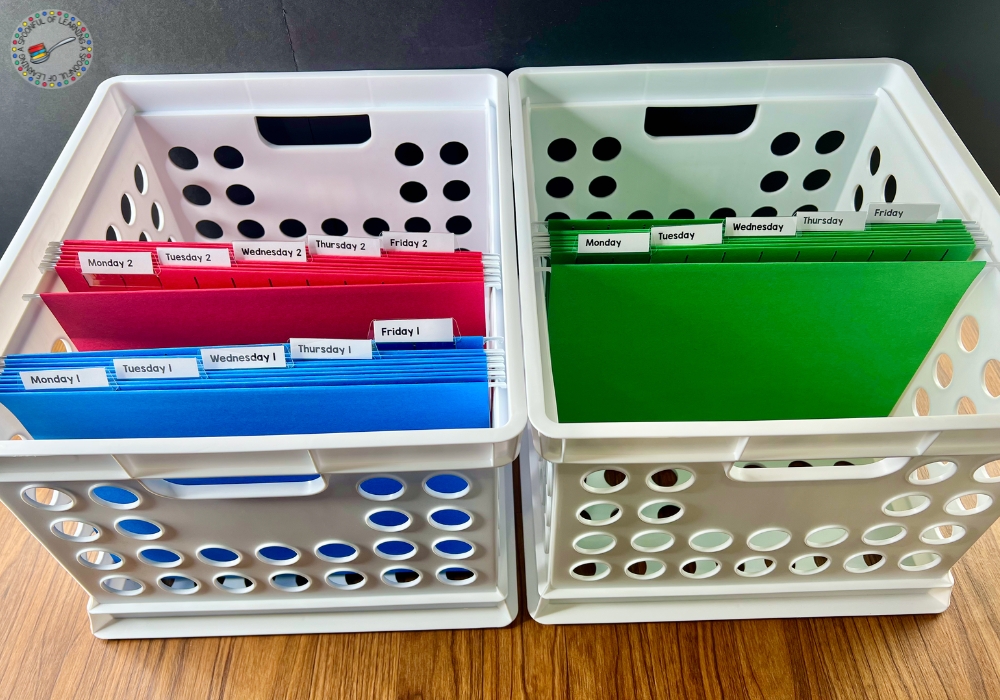
Start with two file folder crates that you can find at Walmart or Target. (The ones from Amazon are more expensive.) You’ll also need three different colors of hanging file folders. You could use all one color and rely on the labels to keep things straight, but I have found that the different folders help me find what I need more quickly.
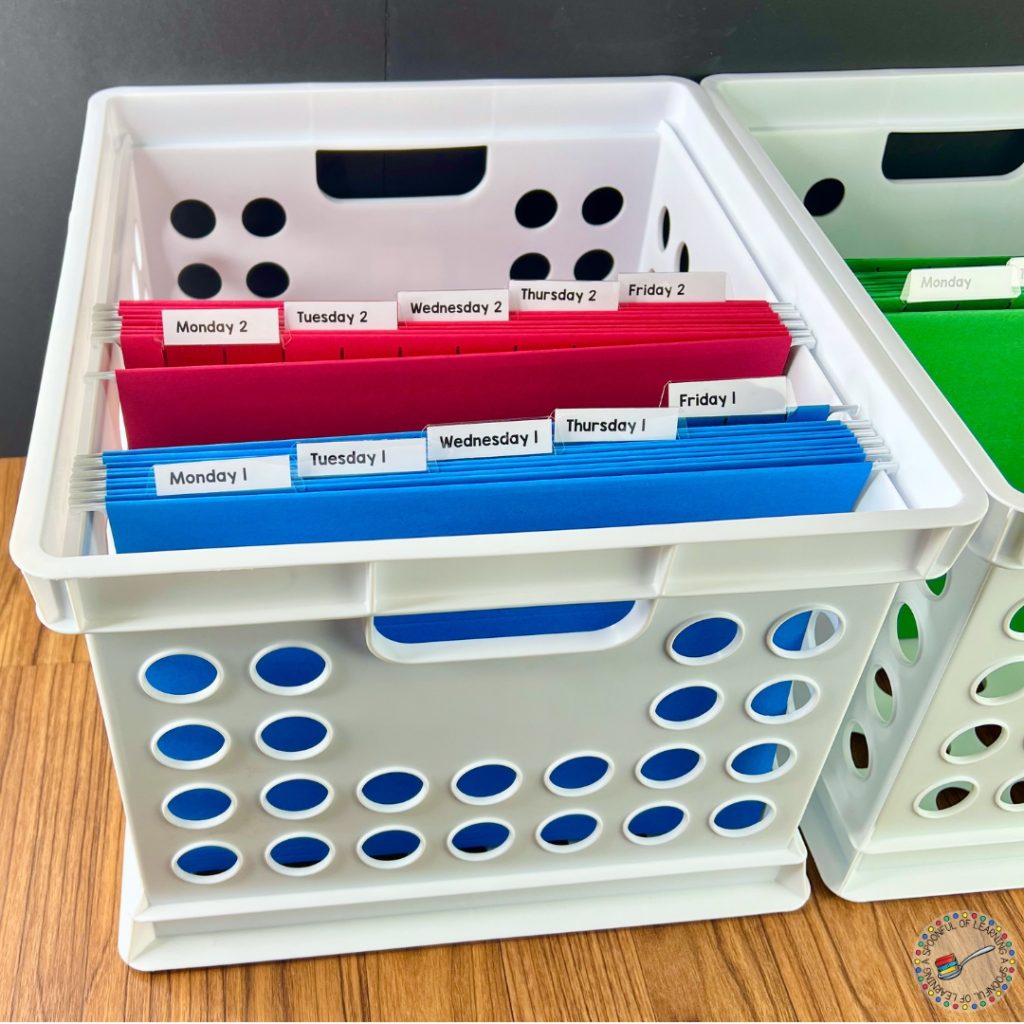
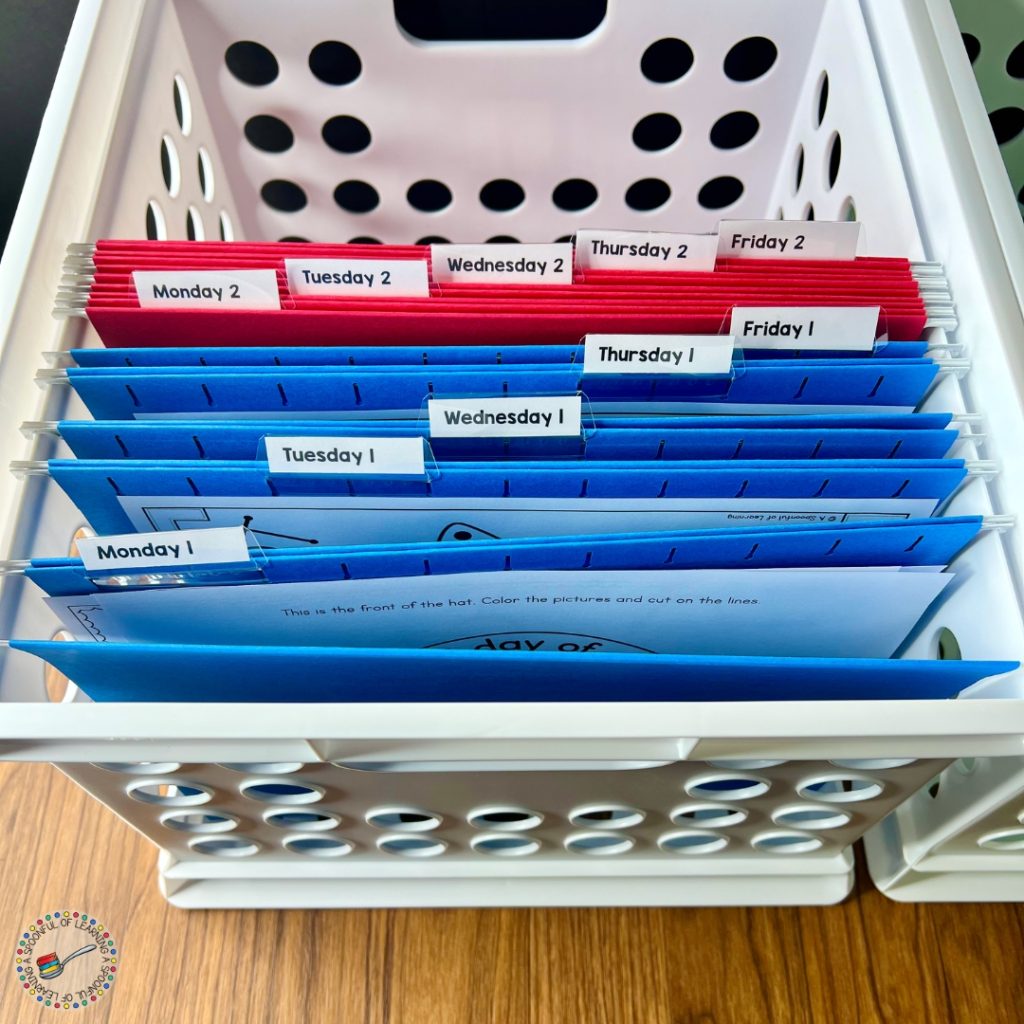
For the planning crate, I put five folders of the same color and give them the following labels:
This represents each day of your first week of planning. If you want to work towards planning for two weeks at a time, you can add a second set of folders in a different color. Label them the same way, but swap out “1” for “2” to represent your second week of planning.
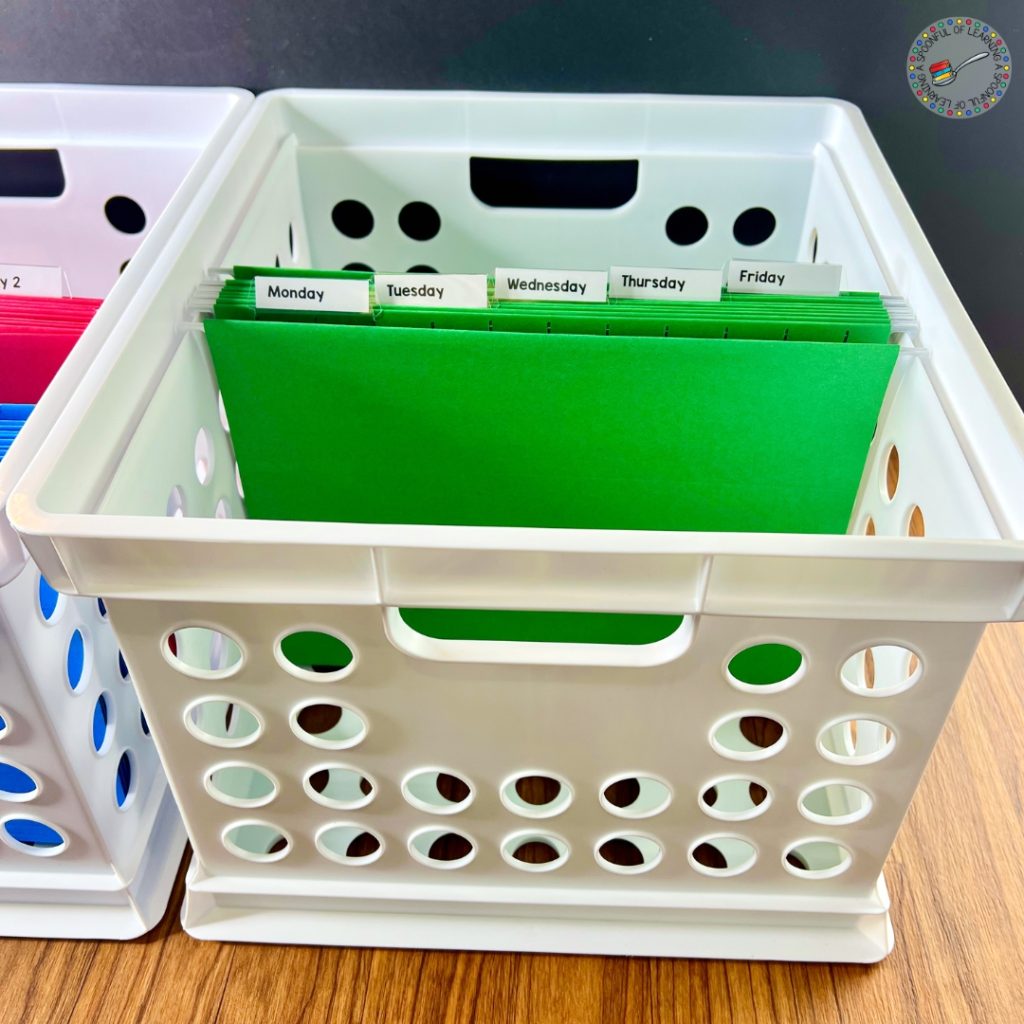
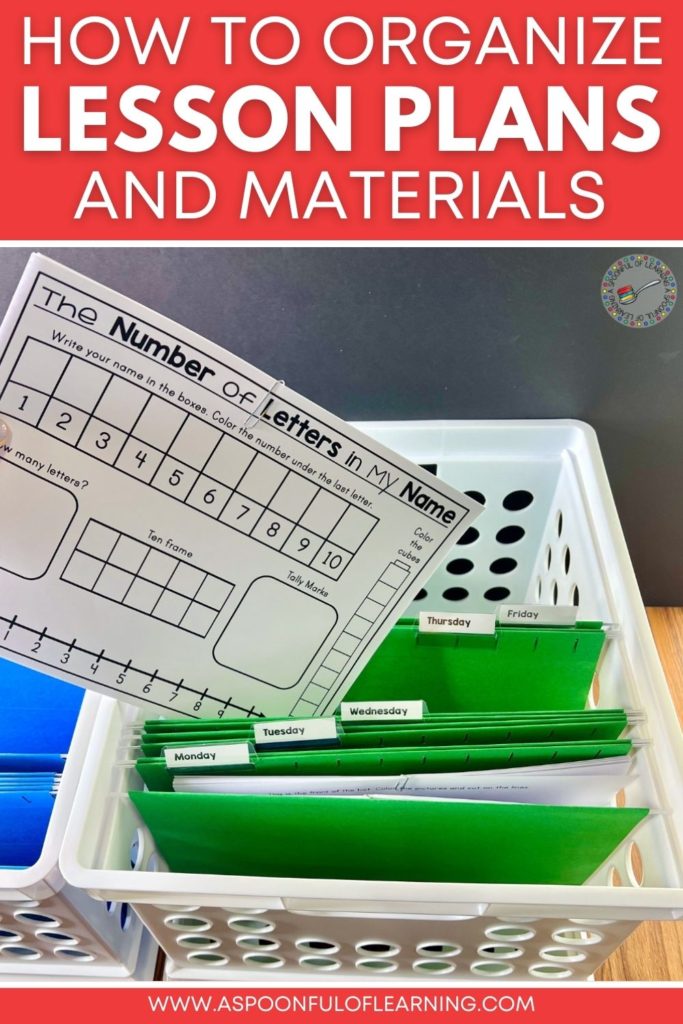
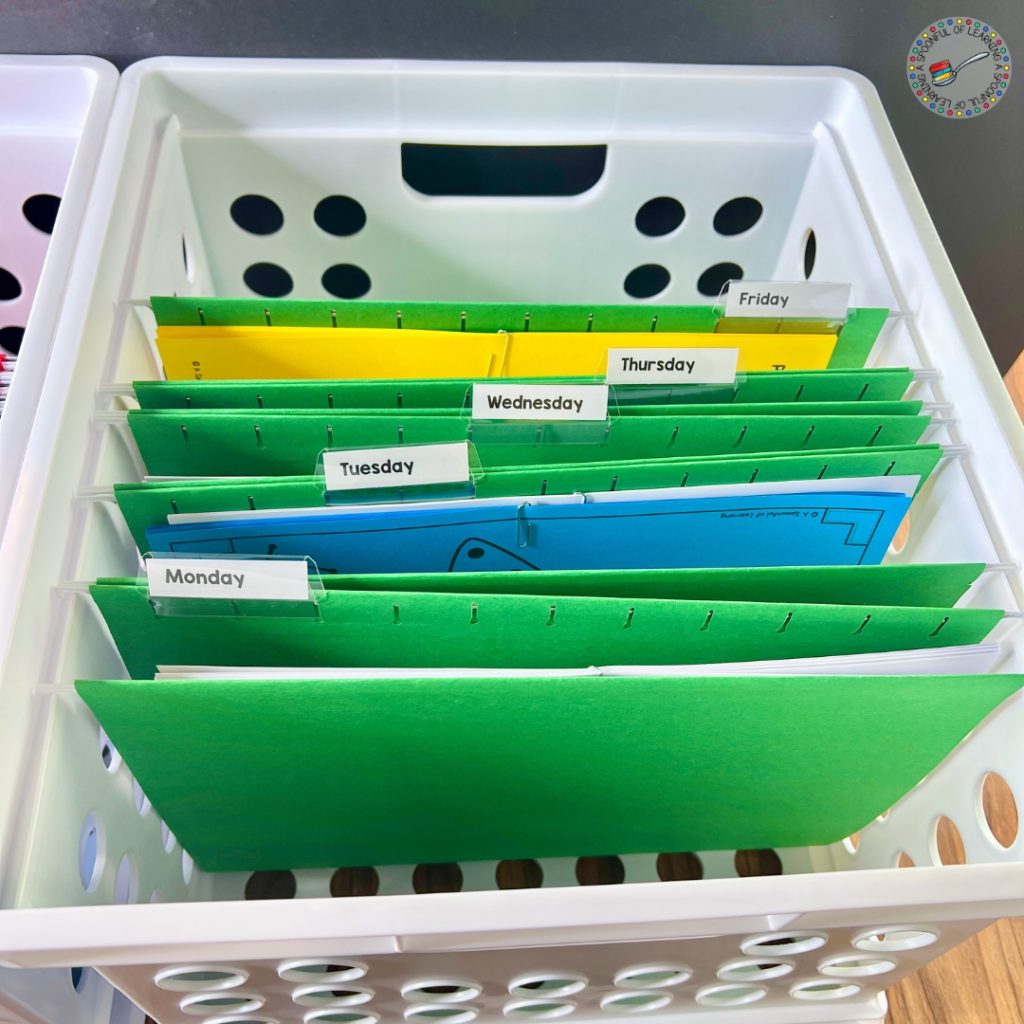
In the second crate, you will add five file folders and label them Monday – Friday.
For this organization system, it’s helpful to have a hard copy of your lesson plans. This could be your lesson planning book or a printout from your digital lesson planner.
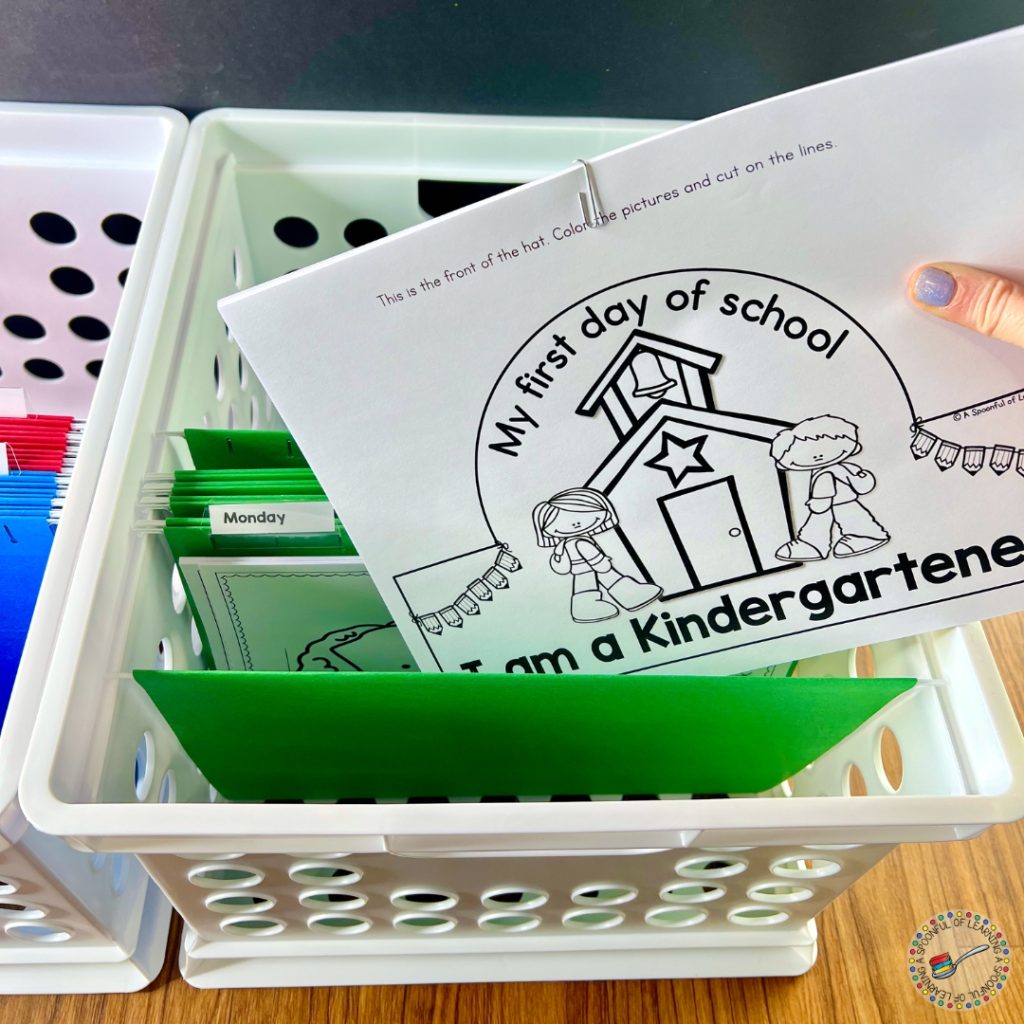
Go through your lesson plan one day at a time to see what activities you’ll be doing during each teaching block. Gather the papers that you’ll need to copy for any of the activities and place them in the corresponding folder of the planning crate. If it’s an activity for Monday, you’d put it in the “Monday 1” folder.

As you gather each activity, you can put a small dot next to it in your lesson plan. This lets you know that the activity is in the folder and ready to be copied. If there is an activity that needs additional prep time or cutting (like a craft), you can put a star next to that activity in your lesson plan.
This is when the two-crate system can shine! When you have a spare moment, you can take folders from the planning crate for copying. (Take the whole folder with you to the copy room!)
As you finish copying a paper, place a paperclip on the set of copies and put it back in the folder. This helps you keep track of which activities you were able to copy in case you get interrupted or run out of time.
Once you are back in your classroom, you can transfer all of the copied activities into the corresponding daily folder in the Ready to Go crate. Anything that didn’t get copied will stay in the planning folder that goes back in the Planning crate.
You will just continue with this process in pockets of time throughout the week until everything has been copied and transferred to the Ready to Go crate. In your lesson plans, you can change the dot next to the activity to a checkmark to confirm that you have everything you need for that lesson. It’s such a great feeling to get the planning folders emptied and to see all of those checkmarks in the lesson plans!
Now it’s time to go back through your lesson plans and find those stars you added to some of the activities. These are crafts or other hands-on activities that need additional materials. After taking care of that prep, you can switch those stars to checkmarks as well.
The best part of this system is that you can easily start planning even further in advance without confusing things. If you have your lesson plans ready to go for two weeks at a time, you can gather materials for the following week and put them in the second set of planning folders.
With this system, you don’t have to wait for a long chunk of time (usually the weekend) to prep and organize lesson plans for the following week. Instead, you’ll have your materials ready to go before leaving on Friday. You can relax over the weekend knowing that you’ll have everything you need when you walk in the door on Monday morning.
You just have to pull out your Monday folder from the Ready to Go crate, review your lesson plan, line up the activities in the order you’ll need them, and start your day!
Be sure to save this post if you want to reference these tips later. Just add the pin below to your favorite teaching board on Pinterest. You’ll be able to quickly find this post when you’re looking for a way to organize lesson plans and materials.