Holiday Activities and Freebies!
I absolutely love centers time with my students and I know it is their favorite time of the day! They get so excited and engaged with the activities that I swear I could leave the room and they would never even notice! I have had a lot of people ask me questions about when and how I start centers at the beginning of the school year. In this post, I wanted to share all of the details about how to introduce centers in kindergarten.
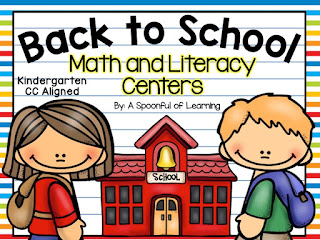
I do both math and literacy centers during the same centers rotation. I usually introduce my Back to School Centers right at the start of the third week of school. I wait a couple weeks because I really like for my students to get a chance to learn and practice our classroom procedures, rules, and expectations. They definitely earn these centers after all of their hard work!
Having kindergarteners and wanting them to stay in one place/area for 15+ minutes was always very scary for me!!! I couldn’t wrap my head around how I was going to introduce everything and how I was going to do my procedures for centers! However, these hands-on center activities were easy to organize and really had my students working the entire time, in one place. This set of activities really allowed for a fun introduction to centers!
I like to place the center activities into individual buckets. I get these buckets from The Dollar Tree.
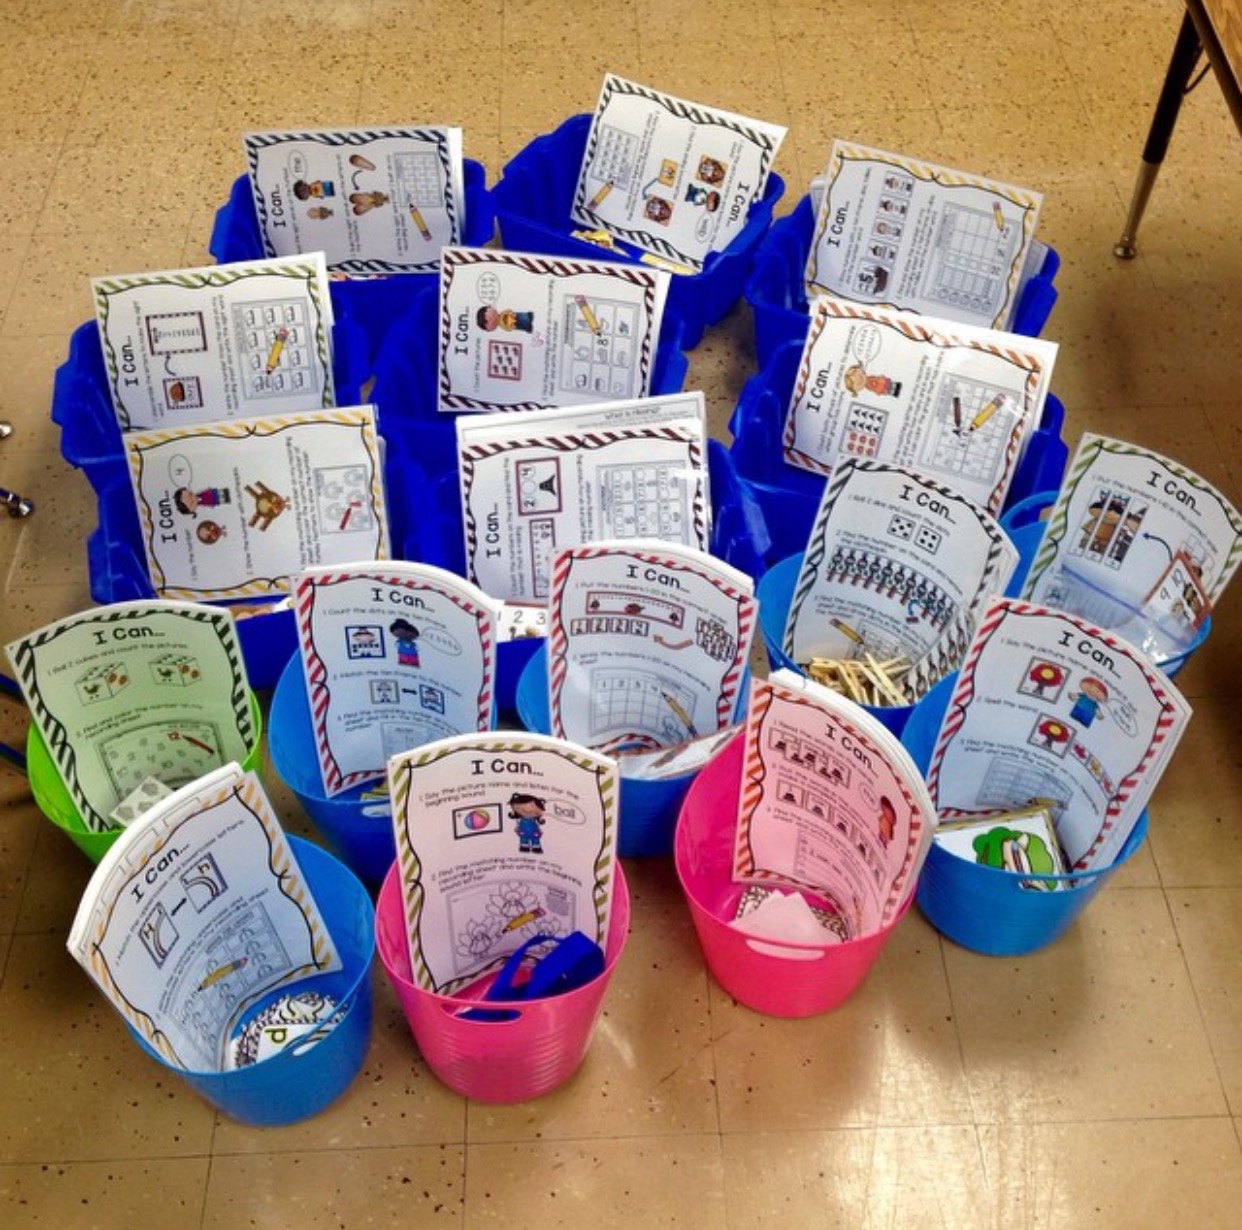
Inside the buckets are:
– ‘I Can’ Kid Friendly Poster
– Center Cards/Activity
– Student Accountability Sheet
– Pencils and Crayons
– Any manipulatives needed for an activity
All of these things fit right inside the buckets perfectly! Everything is in one place and easy for the students to take out of the bucket and to put away. My Back to School Centers includes 27 different activities (16 Math and 13 Literacy). I do not introduce ALL of these centers to my students at one time! I couldn’t even imagine!!! That would probably take the entire day!
The night before I introduce the centers activities to my class, I jot down my students’ names into six groups. These groups are mixed and they are not their actual centers groups. I do not have any specific groups right at the beginning of the school year, but the groups I jot down are the groups they will work with for a little bit of time. My main goal while introducing centers is just for the students to understand the activities, procedures, and expectations.
I introduce four activities at a time. I bring everyone to the carpet and show each of the four activities. When I show them these activities, I model how to do the activity, I act like a student (showing good behaviors and not so good), then let a student model for the class. That way everyone is understanding of the activity, procedure, and expectations. I model all four activities this way. Then, I place a bucket on four of the tables and split the students between the four tables. I also have one group go to my classroom library and one to the classroom computers, making six groups altogether. I walk through the center rotation about five times…no joke! It makes the students laugh after the third time and really helps them remember!
I have my students first start with ten minutes at each center. When the ten minutes is up, I have a song play in the background. This allows students to know that it is time to clean up the center (put it in the bucket the way they received it) and to sit quietly at the table/center activity that they are at. I tell them that it is important that we can hear the music and it really encourages a quiet clean up!!
Once everyone has cleaned up their center and are all sitting, I have each group point to the table/center they will be rotating to next. This really allows them to see if their group is on the same page and if not then they can help each other out or ask me! 🙂 If everyone is good to go and knows where they are going I play the music again to allow the quiet transition (since I told them it is important to hear the music). Works like magic!! When the music stops, they are ready to dive right in to their new center activity.
For the first two days, I have students work in their centers for 10 minutes each. I have them rotate to three centers each day which allows them to get to all six centers after two days. We celebrate our hard work and success!
On the third day of centers, I introduce four more center activities. I do not put away the other four center activities from the first two days. Instead, I add another activity to each table. Each table now has two center activities for the students to choose from and I still have my classroom library/computers as a rotation. Before I have them go to the tables, I explain that if they are working with both buckets that they need to make sure to keep the activities separate and do their best not to mix them up. I am really impressed with how well they do with this! They love helping each other out and there is always one that seems to take charge and make sure everyone is doing what they are supposed to in their group 🙂 Depending on how the first 2 days go, I like to keep each center rotation at 10 minutes for the first week with 3 rotations each day.
I keep introducing about four centers to the students at a time every two to three days until there are four to five buckets at each table. It may sound a bit crazy, but I really do like to allow my students to choose from the activities they are working on. It keeps them engaged, excited, and gives them some independence. If I notice they keep working on the same activities when they rotate, I steer them to a different bucket in a fun way! 🙂
When there are this many centers going on at a table, there is no way we can have four or five buckets on each table! I have four shelves in my classroom that are designated for the centers buckets. Each table has a specific shelf for the centers buckets. By the time we run out of room at our tables and we need to place the buckets on the shelf, my kiddos have a good idea of the centers procedures. The only thing that changes is that instead of the buckets already being on the table, they just walk over to their specific tables shelf and pick the activity they want to work on. If they finish an activity before I have them rotate, they can clean up the center and choose a different bucket from their shelf to work on.
There are often times where a student does not finish their center activity and are kind of bummed out that they have to clean up. In order to keep the hard work the student has already done, I have a folder for each student and they place their unfinished center work in that folder. So when they come back to that center another day, they can pull out the work they have already started and finish the activity.
I really hope that this information can help you in some way and that you’ve found some ideas for how to introduce centers. Would you like to use the back-to-school centers in your classroom?
The skills included in my Back to School Centers are: Handwriting, forming letters, beginning sounds, uppercase and lowercase letters match, sorting letters, building sight words, identifying letters, rhyming, simple sentence building, counting, counting out pictures, shapes, ten frames, ordering numbers, showing numbers in a variety of ways, building numbers, sorting, and SO MUCH MORE!! There are 27 activities all together!
You can grab these Back to School Centers BUNDLED or separately (Literacy or Math). I also have these centers BUNDLED with my Back to School MEGA BUNDLE! Click on the links below to check them out.