Holiday Activities and Freebies!
After your students have worked hard to create a Mother’s Day card craft, it can be hard to decide what to write in the card! We want the greetings on the inside to match the love and effort that went into creating the card itself. Today, I’m going to share four of my favorite things to put inside a Mother’s Day card from young students.
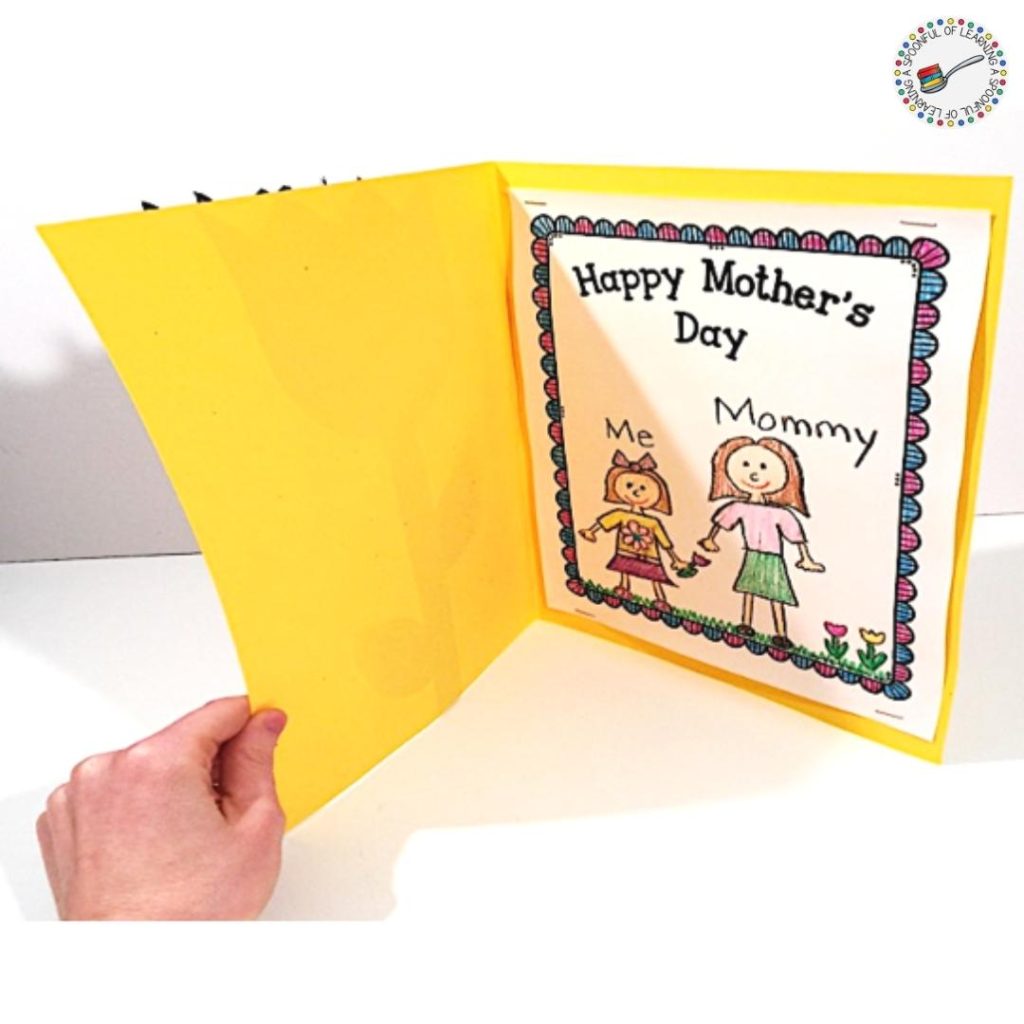
Very young students might not be ready to write much more than their names. In this case, it’s perfect to have students draw a picture of their moms inside of the card. You can’t go wrong with a sweet hand-drawn memento for Mother’s Day! You can also give your students some prompts to help them include more details in their drawings, such as “Draw a picture of you and your mom in your favorite place” or “Draw a picture of you and your mom eating her favorite dinner.”
If you have the ability to take and print pictures of students, you could include a photo on the inside of the card instead of a drawing. To add a special Mother’s Day touch to the photo, you could have students make heart hands, blow a kiss, or hold a small chalkboard that says “Happy Mother’s Day.”
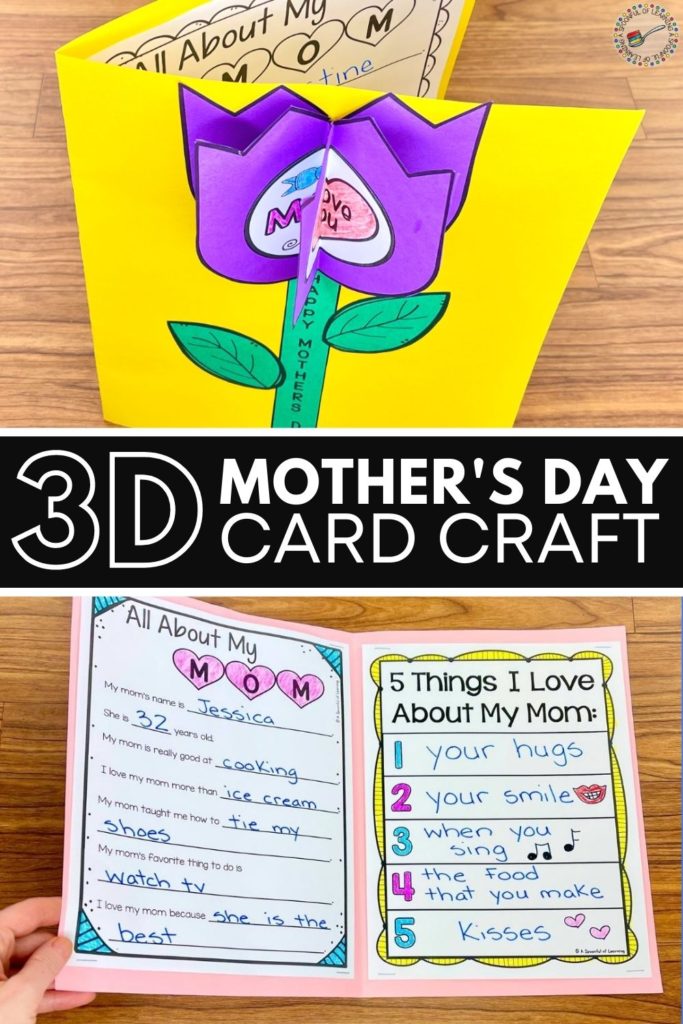
Another great option for the inside of a Mother’s Day card is to have students list or draw things that they love about their moms. They have so much fun coming up with their own individual list to include in the card!
In my Mother’s Day Card craft, I provide a card insert for students to list five things they love. These lists have plenty of space for beginning writers to form their letters, but the list could easily be used for pictures instead. Some students even like to include both words and pictures!
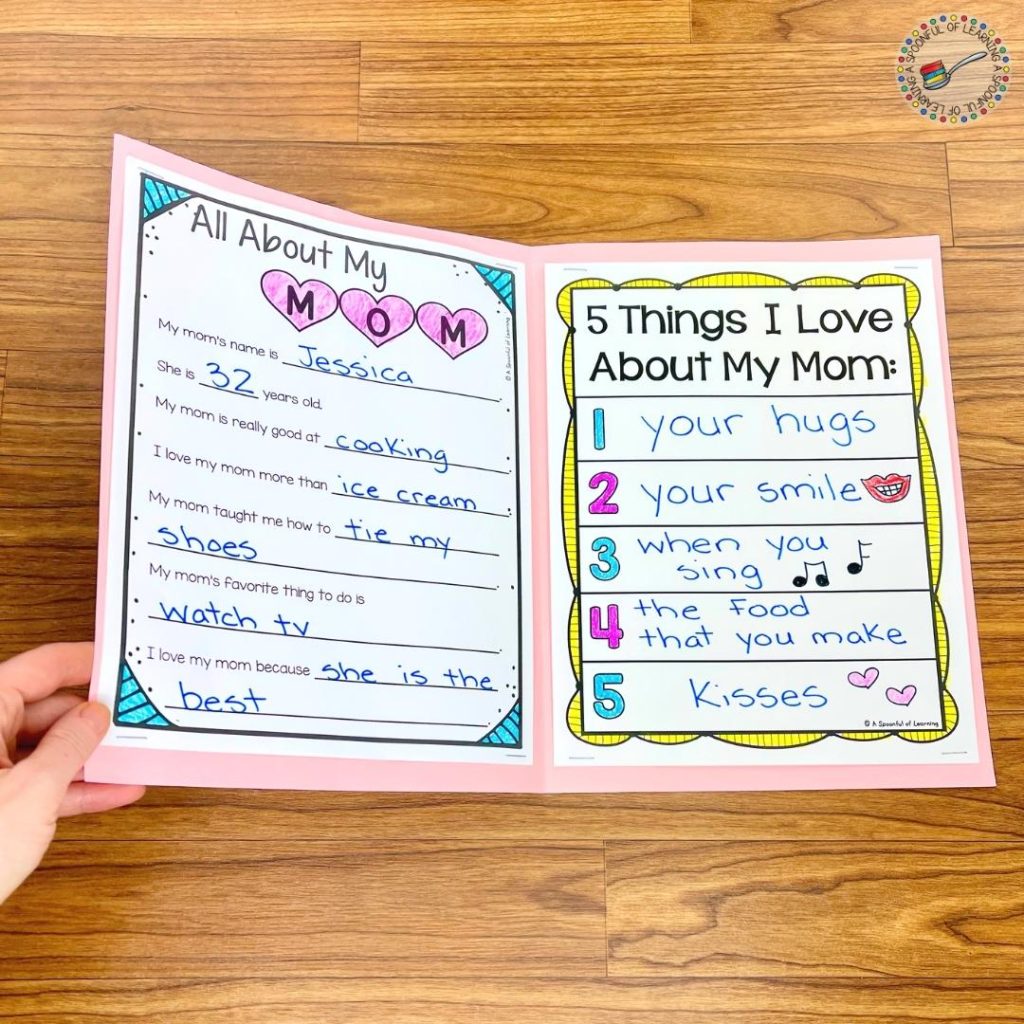
A Mother’s Day favorite, the All About Mom questionnaire is a great option for the inside of a card. There’s something about the honesty of young children that creates a very memorable (and usually funny) gift for moms. Plus, it makes a great keepsake that will be fun to revisit over the years to come.
Since an All About Mom questionnaire is fill-in-the-blank, it’s perfect for young students! They can write the short answers on their own (if possible), or they can dictate to an adult. Either way, it’s a fairly quick process that results in a great insert for a Mother’s Day card.
When young students start figuring out how to spell, one of the first things they like to try is writing letters! So they will be excited to include a letter to their moms inside of the Mother’s Day cards that they have made. This option is probably the most advanced, but a heartfelt letter is always a great choice for inside a card. Plus, this helps students practice a valuable, lifelong skill that they will use each time they send a card to someone.
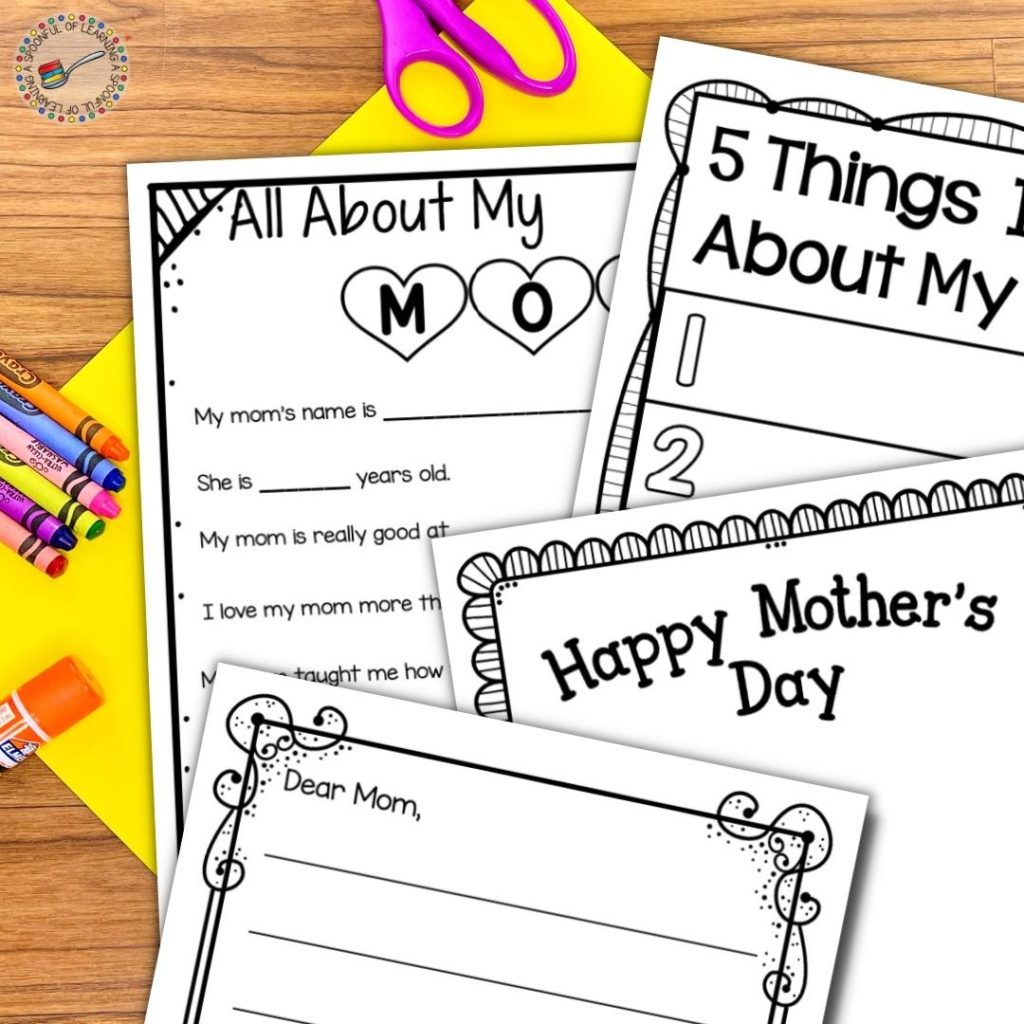
Now that I’ve shared my favorite things to put inside handmade Mother’s Day cards, I wanted to share a few more helpful tips! These are just a few more things to consider when you’re filling out the inside of your adorable Mother’s Day card crafts.
When setting aside time to work on your Mother’s Day card craft, be sure to include enough time for the inside of the card. Decide on what greeting you’d like to include and estimate how long it will take to complete. Young students need plenty of time to create a memorable greeting for the inside of their Mother’s Day cards.
If you have small group centers rotations in your classroom, use some of your work time with students to work on the cards. Writing Mother’s Day letters can definitely fit into literacy centers for a week or two!
When it comes to writing on the inside of your Mother’s Day card craft, there is a pretty good chance that mistakes will be made. When students have put so much effort into creating the perfect card for their moms, they can become disheartened when they make a mistake while writing on the actual card.
This is why I suggest using Mother’s Day card inserts instead! Students can fill out, edit, and even redo the inserts without worrying about ruining the card they’ve created. Once the insert is exactly how they’d like it to look, it can be stapled or glued to the inside of the card. You could also choose to do the inserts first and store them until you’re ready to attach them to the cards.
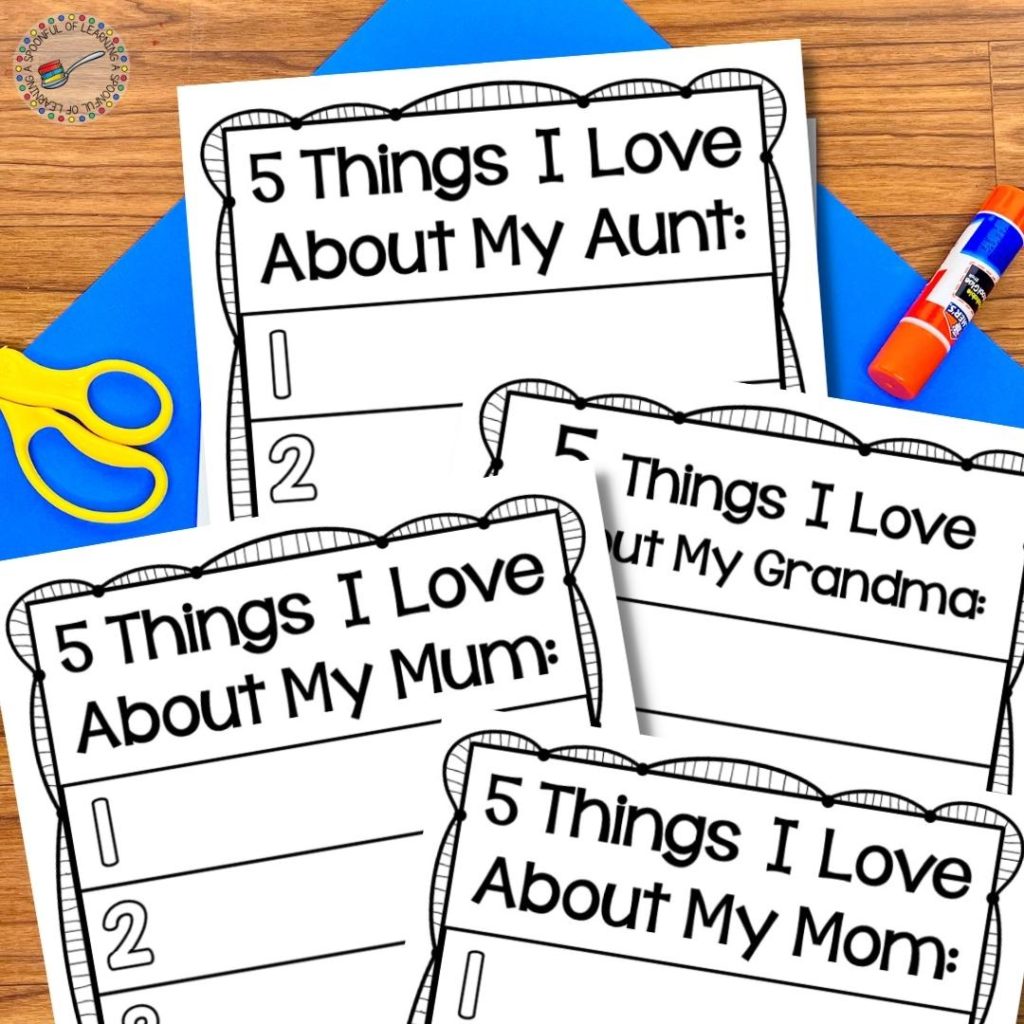
Keep in mind the circumstances of your particular group of students so that you can be sensitive to family diversity. My 3D Mother’s Day Card craft comes with inserts for different women who might be important in the lives of your students.
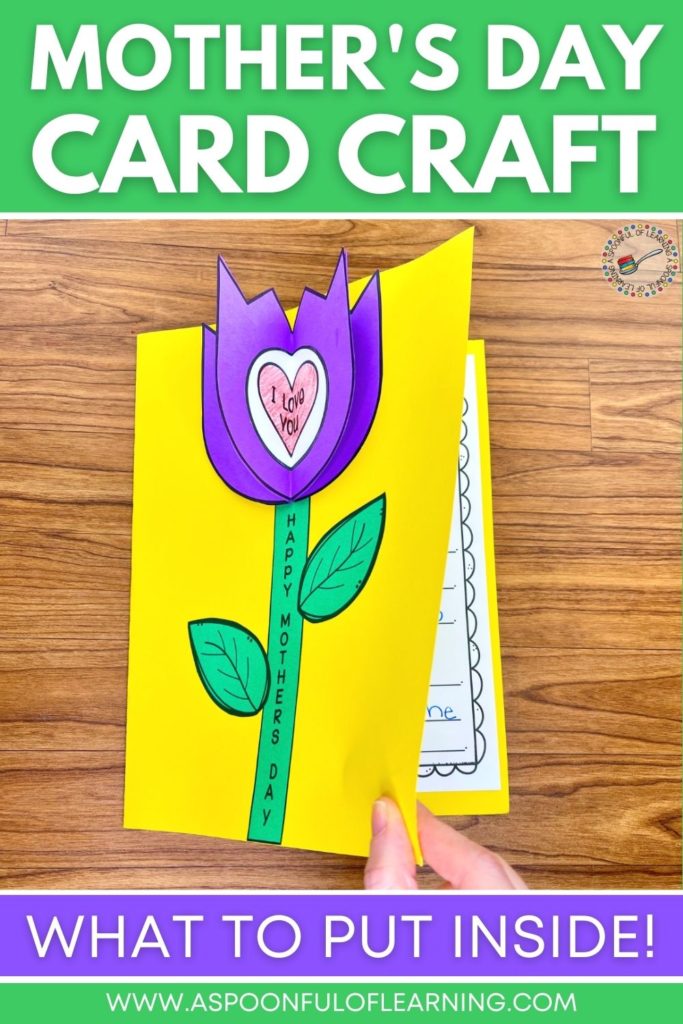
If you are still looking for the perfect card idea for your students, you’ll want to check out my 3D Mother’s Day Card craft! Not only does it include inserts for all of the ideas I shared above, but it also provides all of the templates you need to create a fun 3D flower card for Mother’s Day.
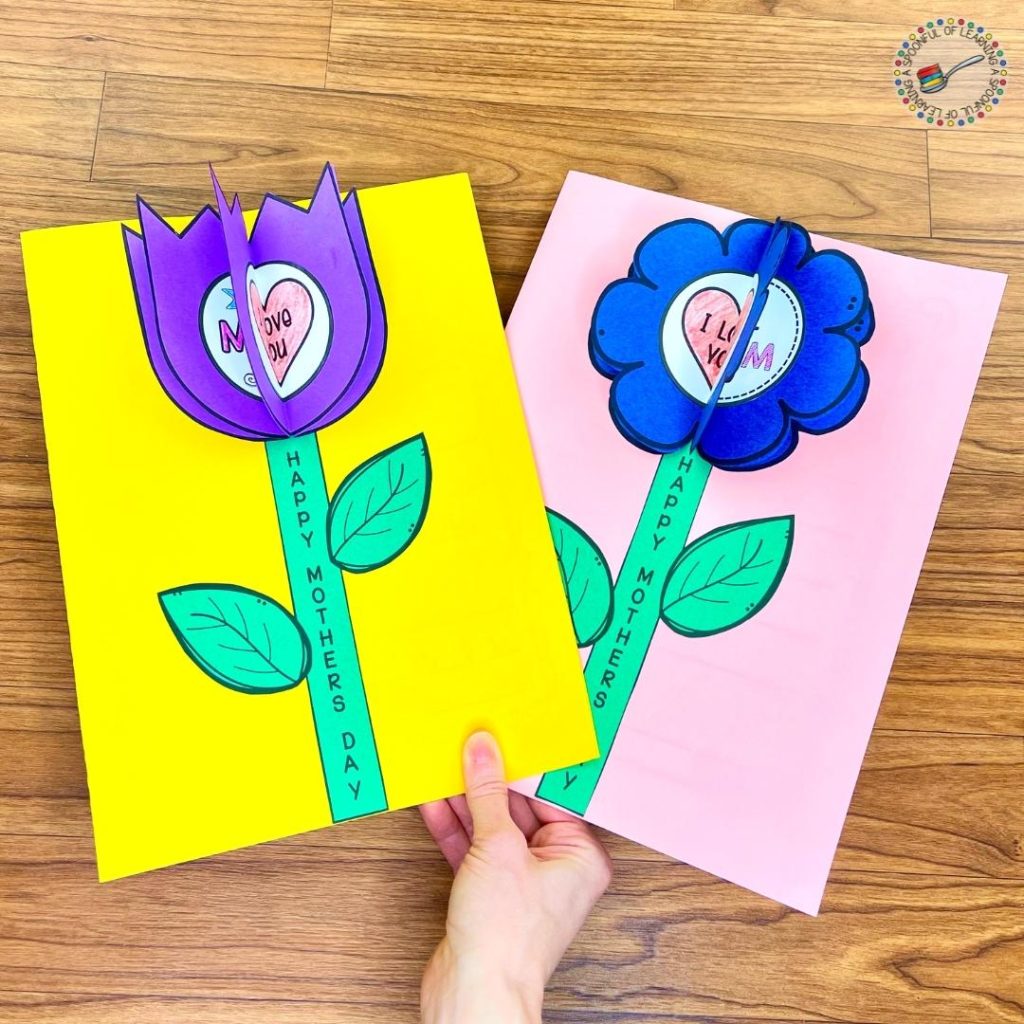
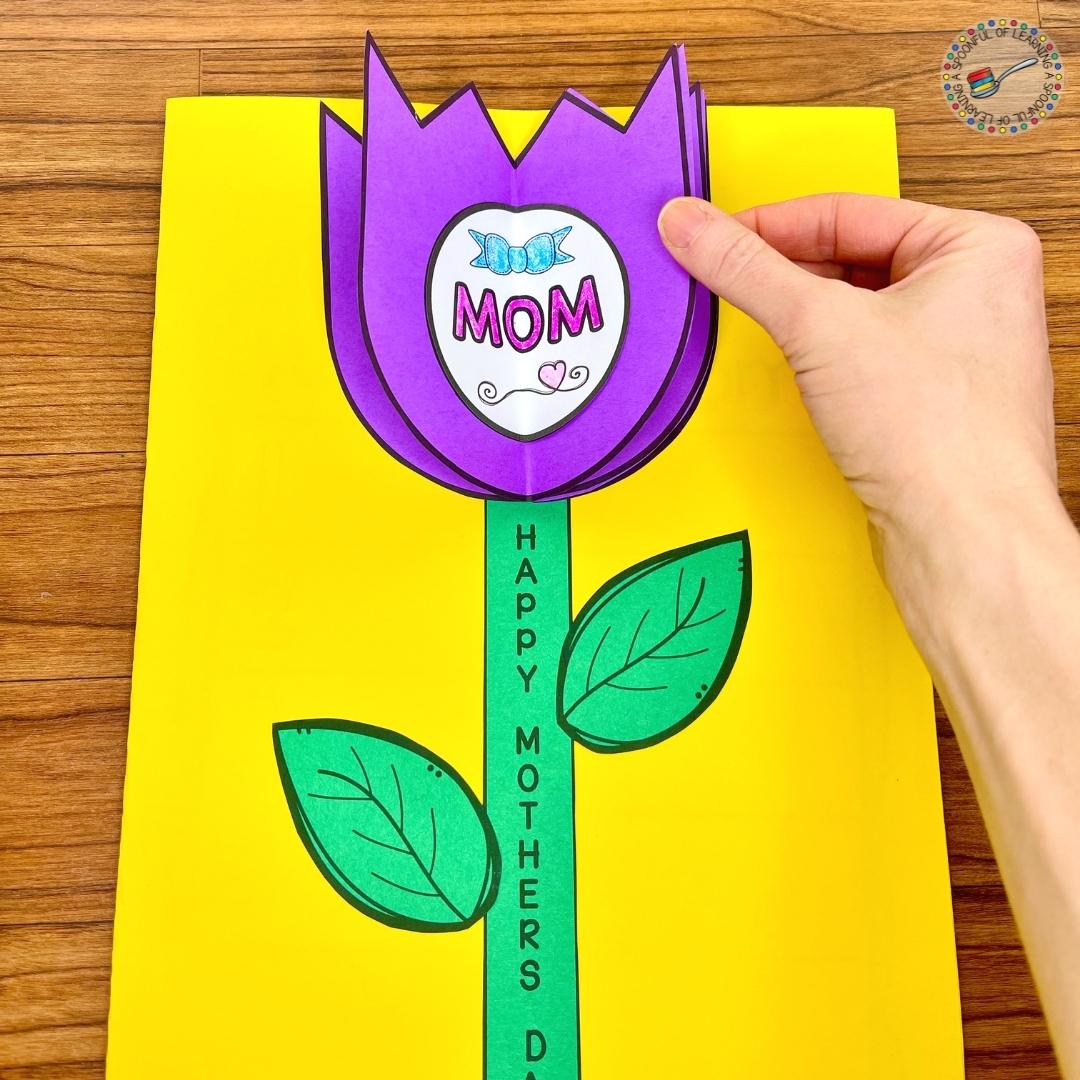
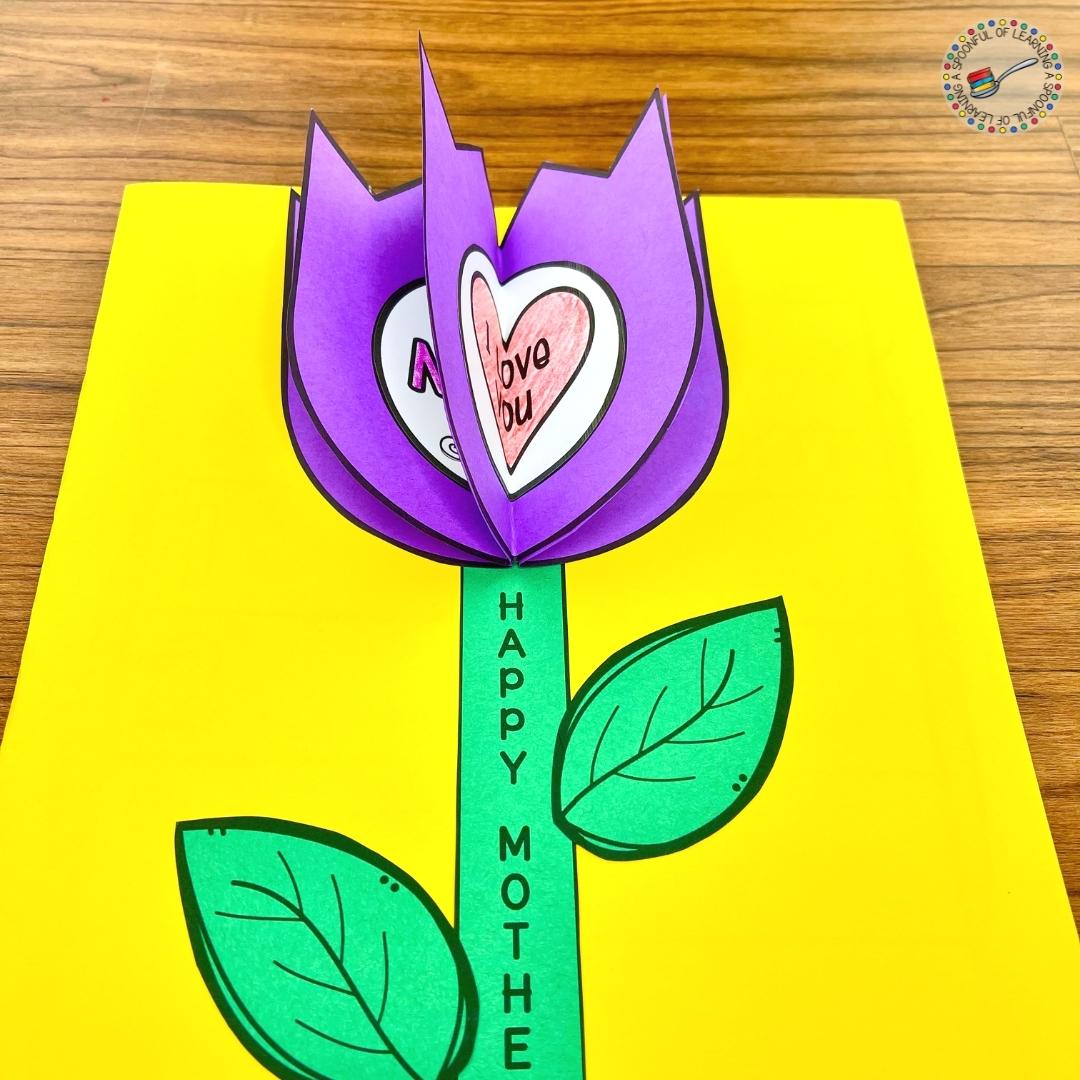
This product comes with two different flower styles that result in a fun and unique Mother’s Day card for your students to share with the important women in their lives. You can find this craft in the A Spoonful of Learning shop or on Teachers Pay Teachers.
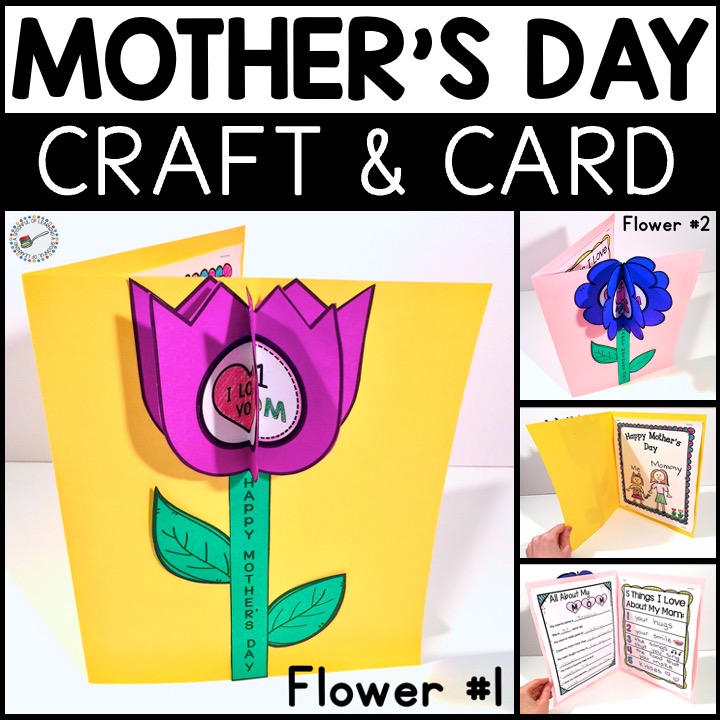
Be sure to save this pin to your favorite board of craft ideas so that you can refer back to these tips when it’s time to add a greeting to your completed Mother’s Day card craft. If you create these cards with your students, be sure to tag me on Instagram so I can see how they turn out!
