Holiday Activities and Freebies!
One of my favorite ways to help students learn about numbers and improve their number sense is by creating number boards that we can use as anchor charts. If you’re looking for a simple but effective way to help students learn how to show numbers in a variety of ways, keep reading! I’m going to show you how to make interactive and effective number anchor charts that support your number sense instruction!
Anchor charts are usually made on bulletin board paper, anchor chart pads, or even regular poster board. However, I highly recommend the extra-thick poster board or even the foam core poster boards that you can find at the dollar store. If possible, grab a black poster board so the information on the number anchor chart really pops!
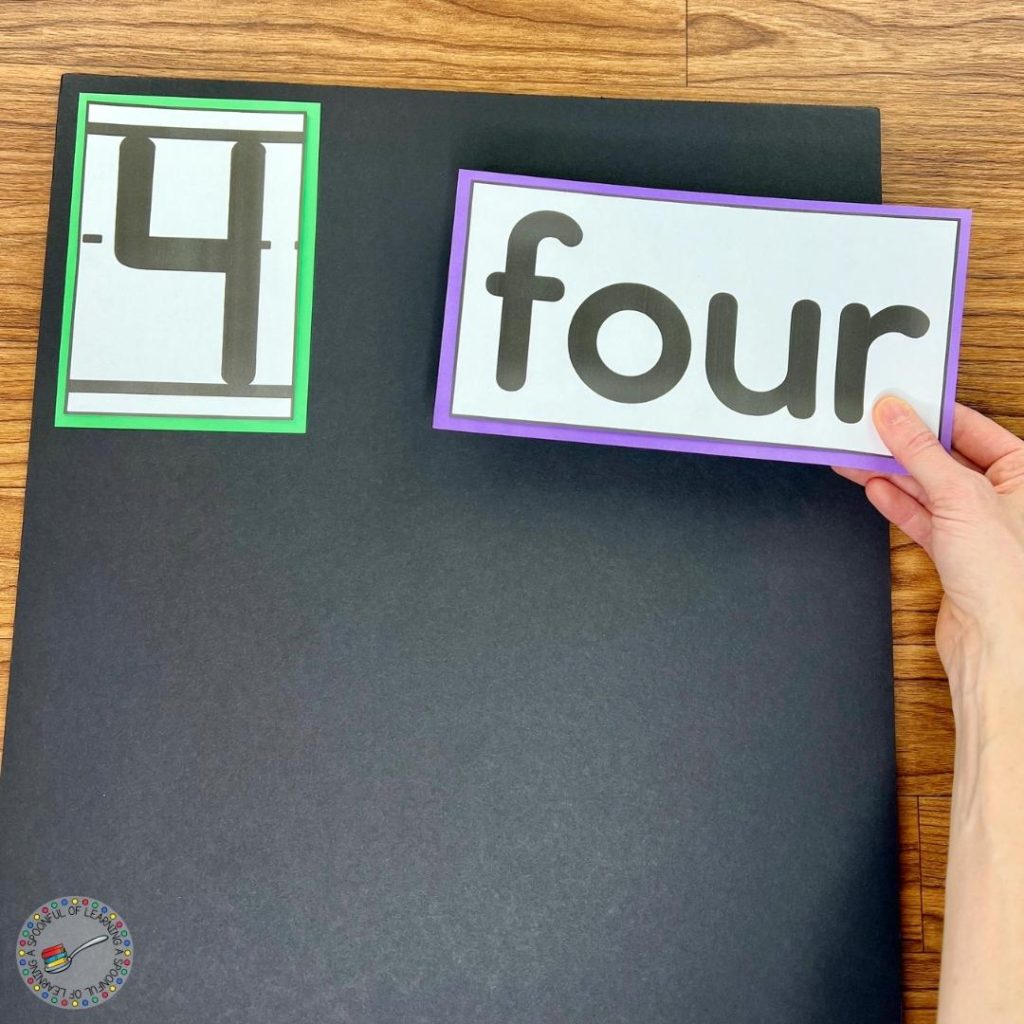
One reason that you might prefer a thicker poster board is that you can easily use both sides. I like to put the numbers one through five on the front of the posters, then add six through ten on the back. Since the boards are thick, they can easily support two numbers. This saves you storage space, conserves paper, and saves money.
The thick poster board also makes it possible to use these number anchor charts year after year!
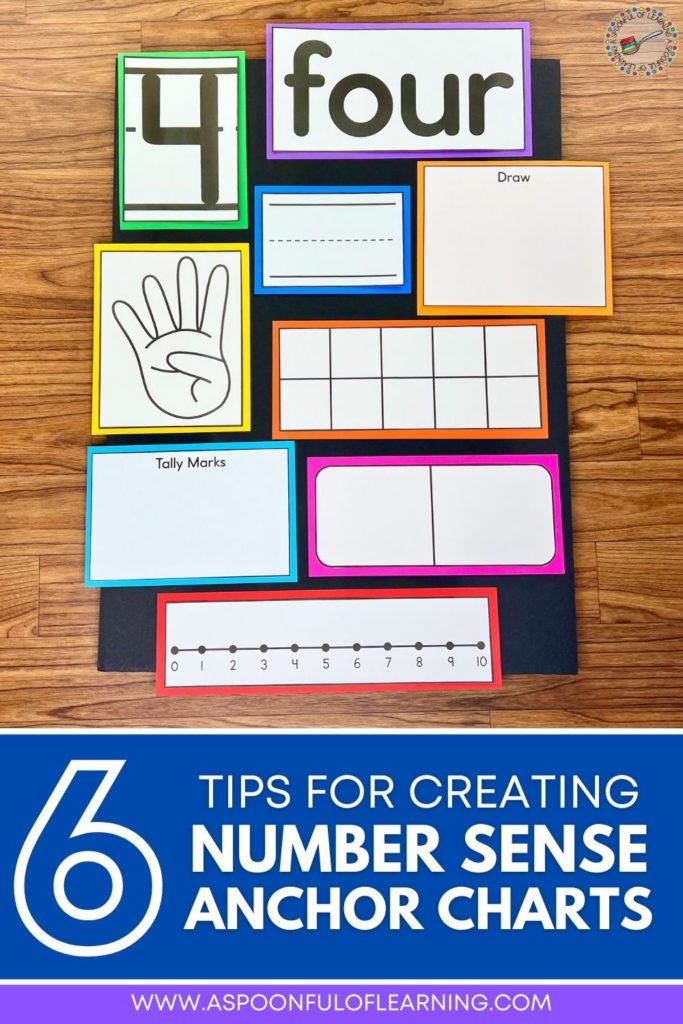
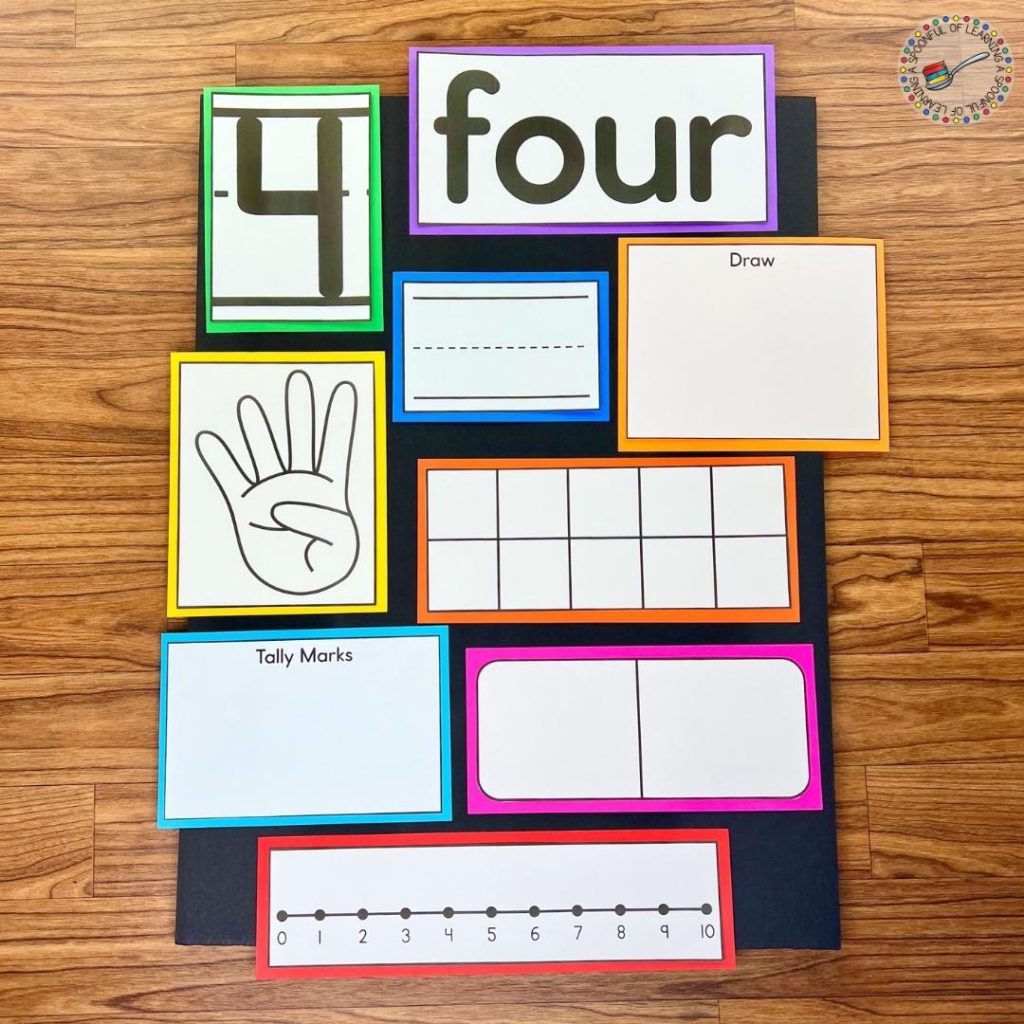
One of the main purposes of number anchor charts is for students to learn about many different representations of each number. When you create your own number posters, you’ll want to decide how you will want to model each number. Here are some different representations you could choose from:
Once you have decided how you want to model the number on each poster, it’s time to make space for the different representations! In order to make your number anchor chart interactive, use blank sections for each way to model the number. For example, add a blank number line to the poster, a blank area for drawing objects, or an empty ten frame. You might also like to glue construction paper to the back of each section to help them stand out!
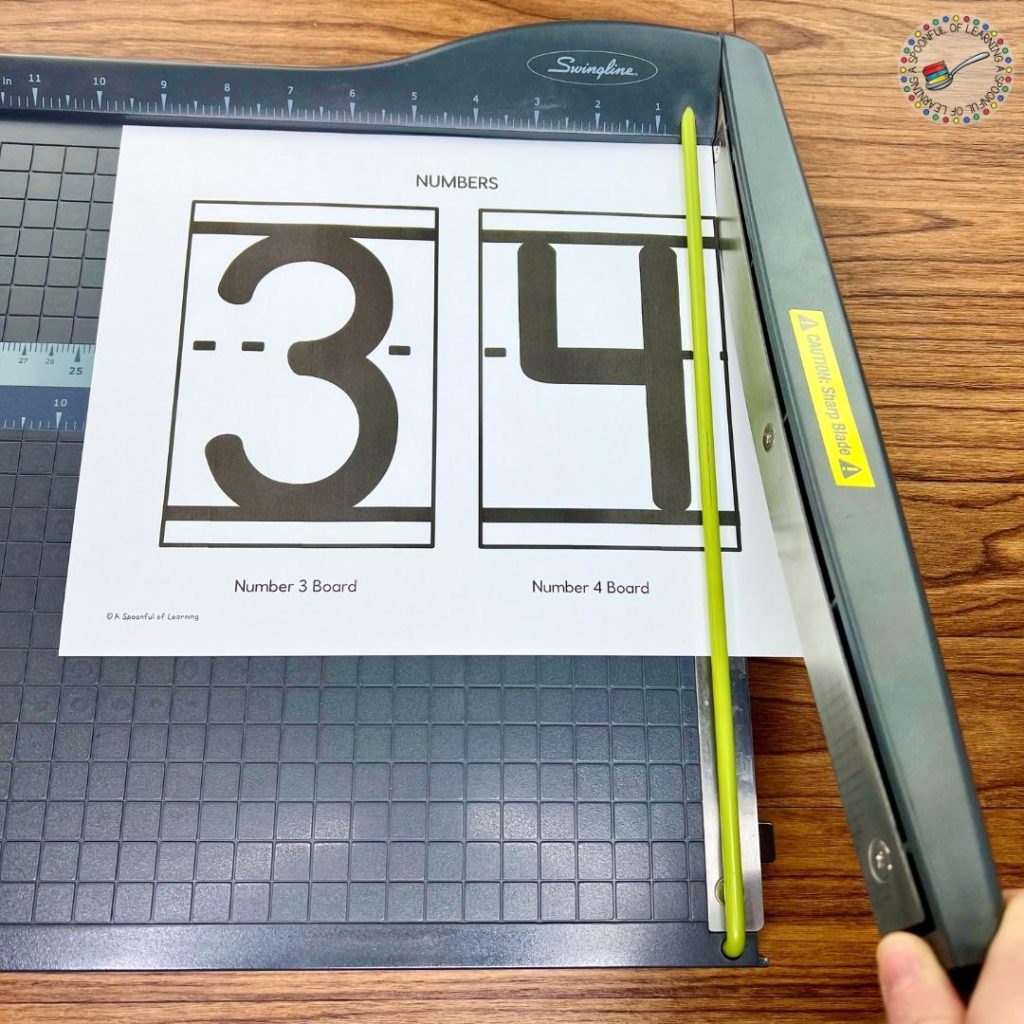
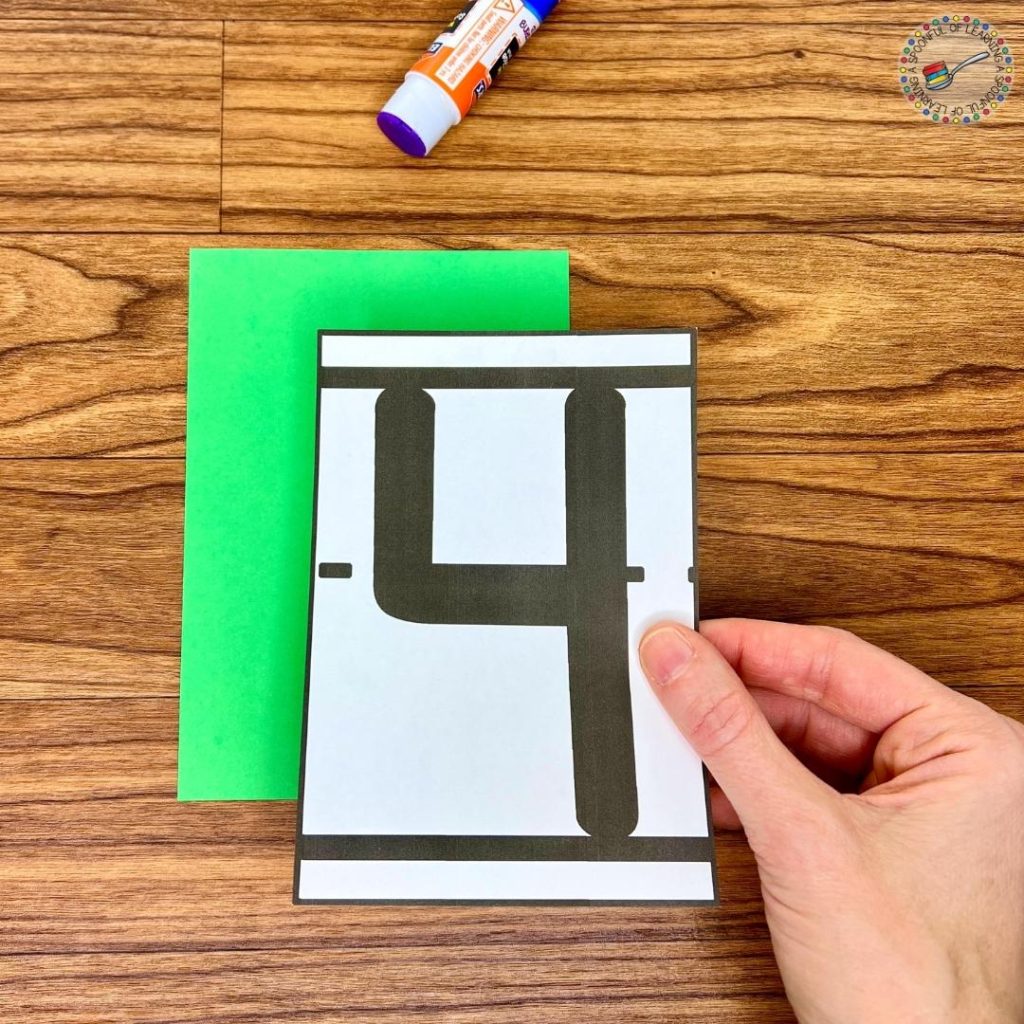
This step is definitely optional, but I highly recommend it! Before assembling your number anchor chart, be sure to laminate each piece! This will add durability to your poster and allow you to use it for years to come. Plus, being able to erase will be an important part of using your number anchor chart. Keep reading to see what I mean!
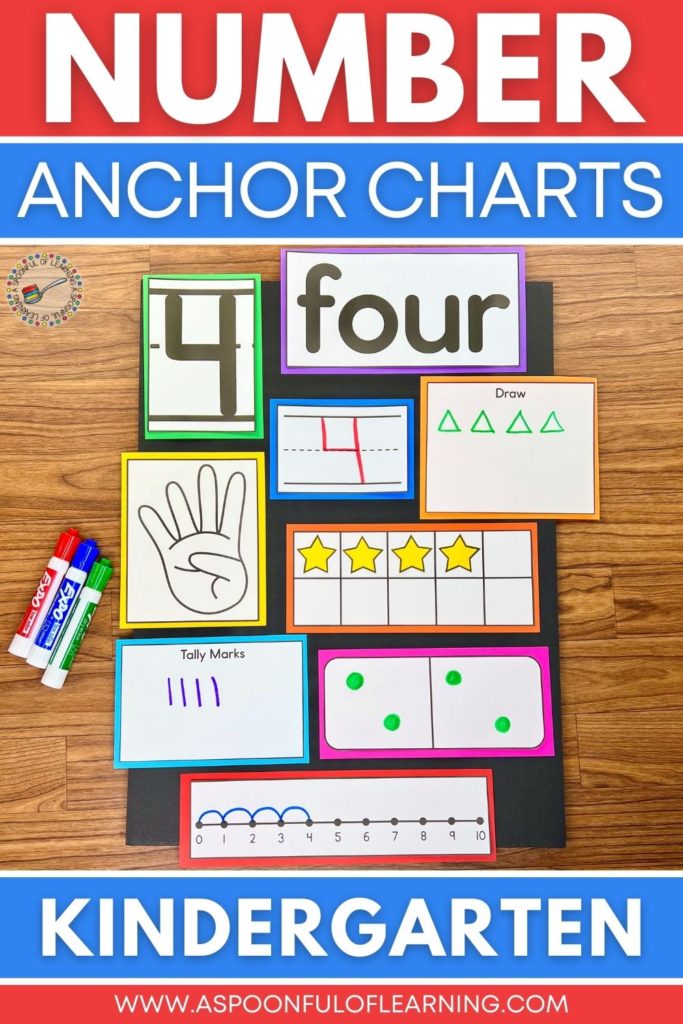
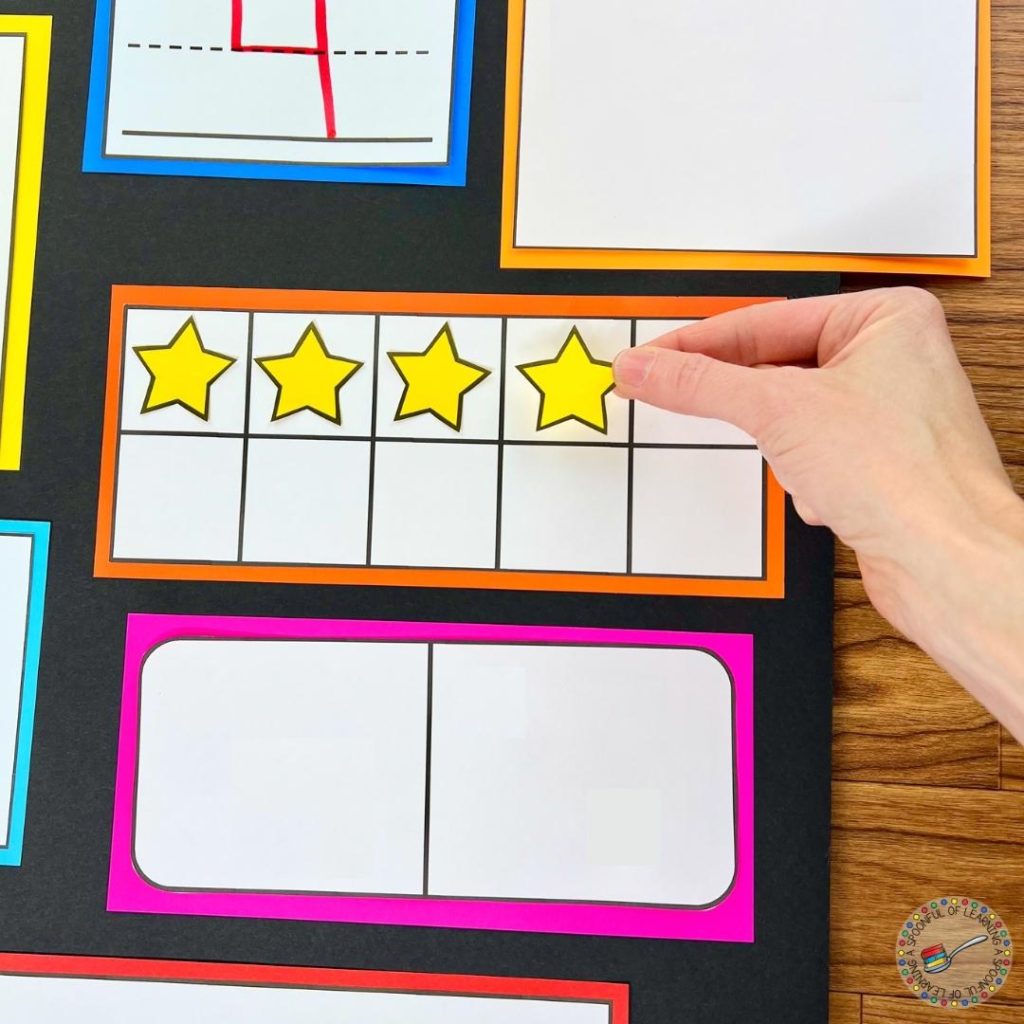
One of the most important parts of making a number anchor chart is that you don’t complete it by yourself! Let your students take turns coming up to the number board to fill out a different representation of the number. This is a great activity to do during morning meeting, calendar time, or your daily math routine. If you focus on one number for a week, you can focus on one or two ways to show the number each day.
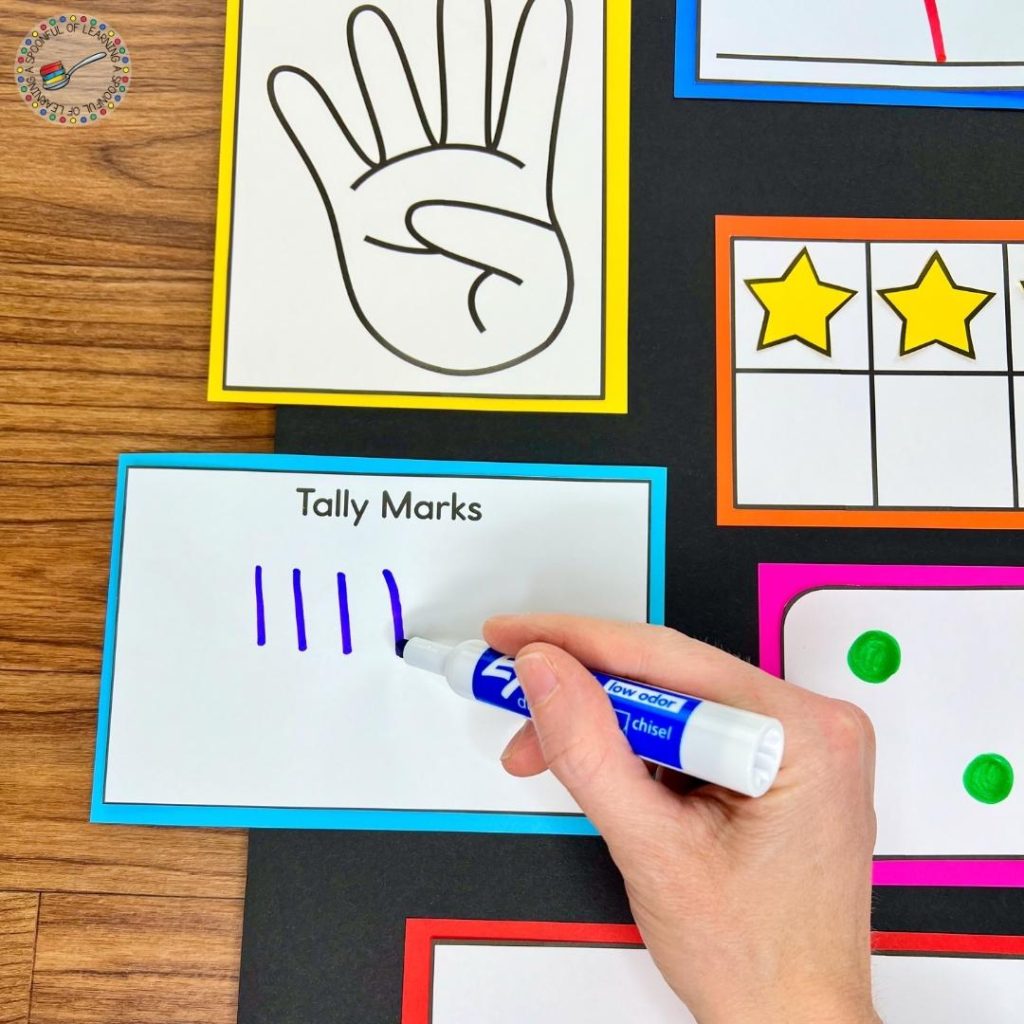
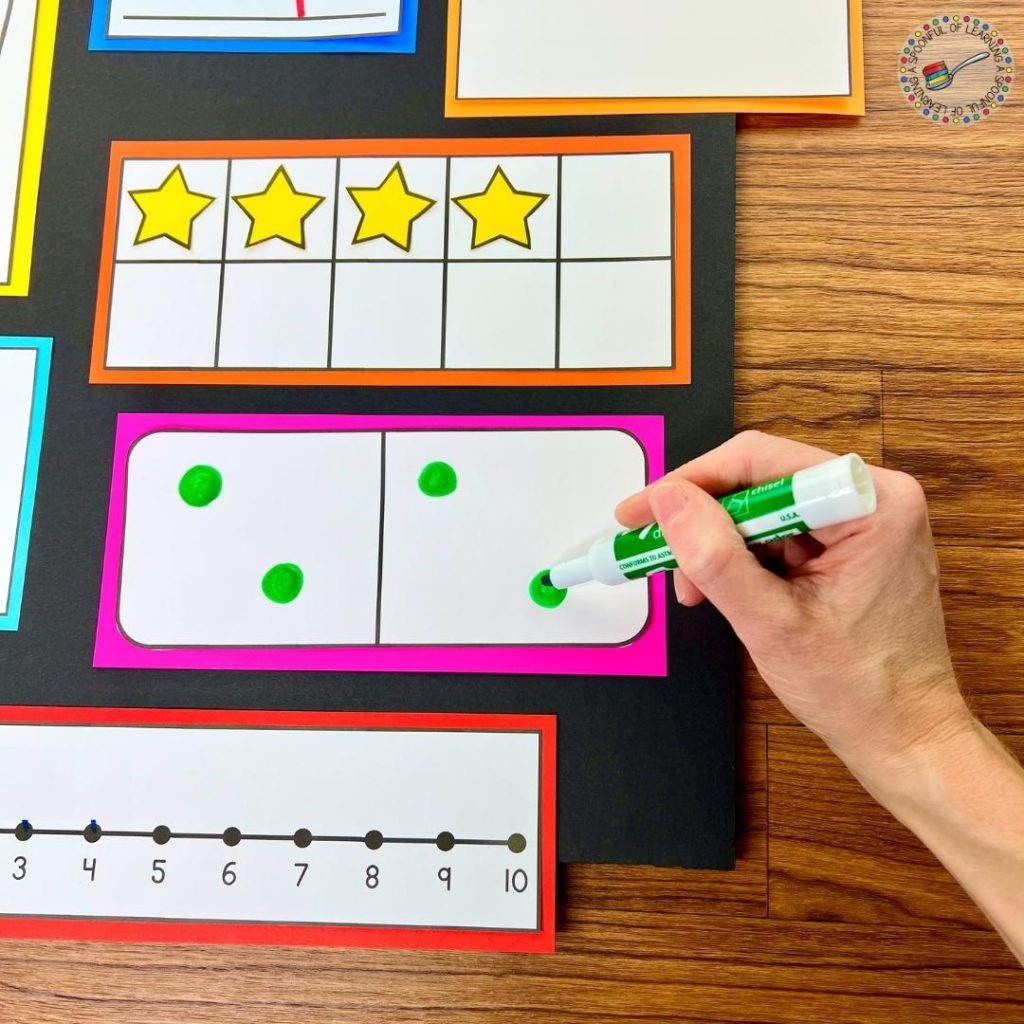
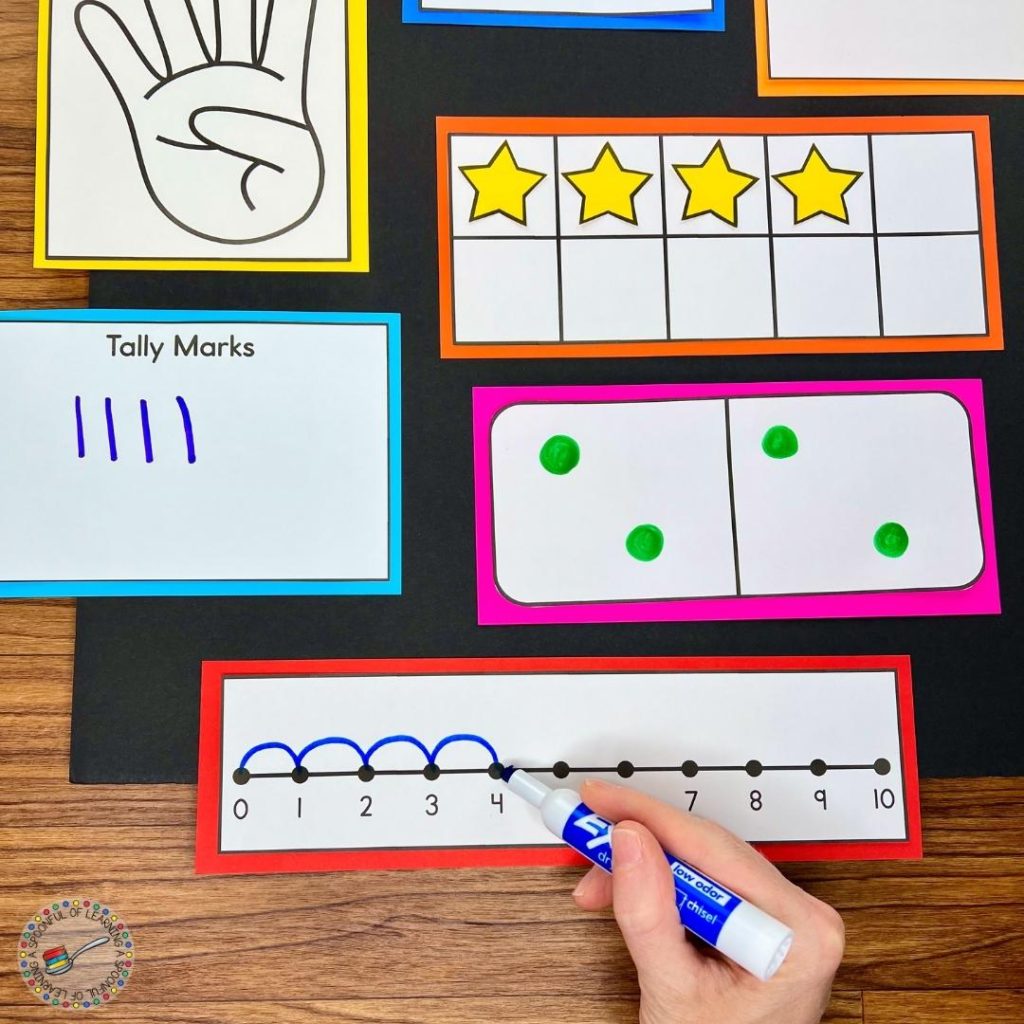
Even though students can learn a lot from creating an interactive number poster, it’s important that these posters are actually used after they are created. If anchor charts aren’t being referred to and used throughout the school day, then they are more of a visual distraction than a helpful tool! Find a place for your number poster to be on display during the time that you are focusing on that number. You will also want to decide if you want to display multiple completed number anchor charts to review periodically.
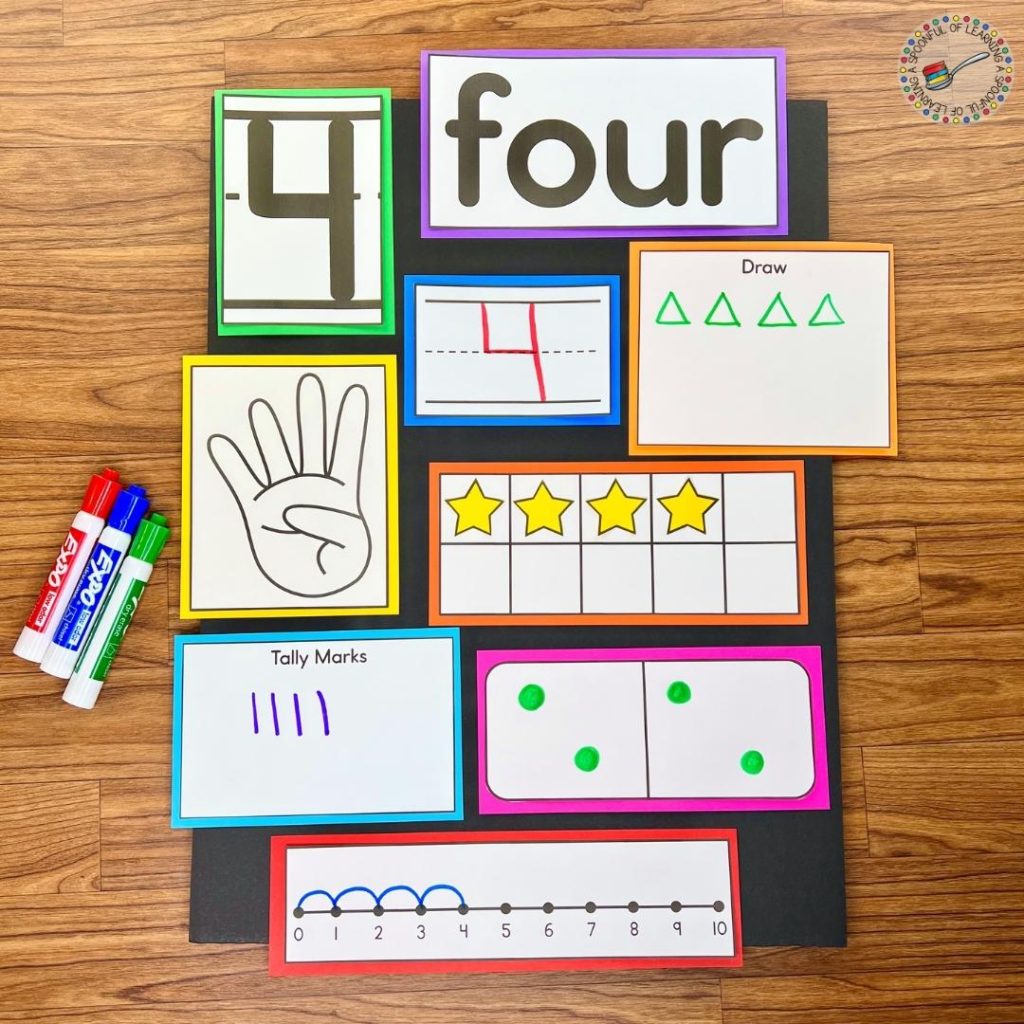
When I use number anchor charts, I like to focus on one number for a week. During this time, we focus on one part of the number anchor chart each day. Then, to really reinforce the number sense concepts we practiced, I like to do follow-up number activities. These printable activities give students an opportunity to independently practice the representations of each number. The best part is that students can refer back to the anchor chart as they complete these activities.
When an interactive number anchor chart is paired with related number sense practice, students can really improve their number sense! If you would like to take a closer look at the activities I use with my number boards, you can check out this post.
Remember when I suggested that you laminate your number anchor chart? This is when it comes in handy!
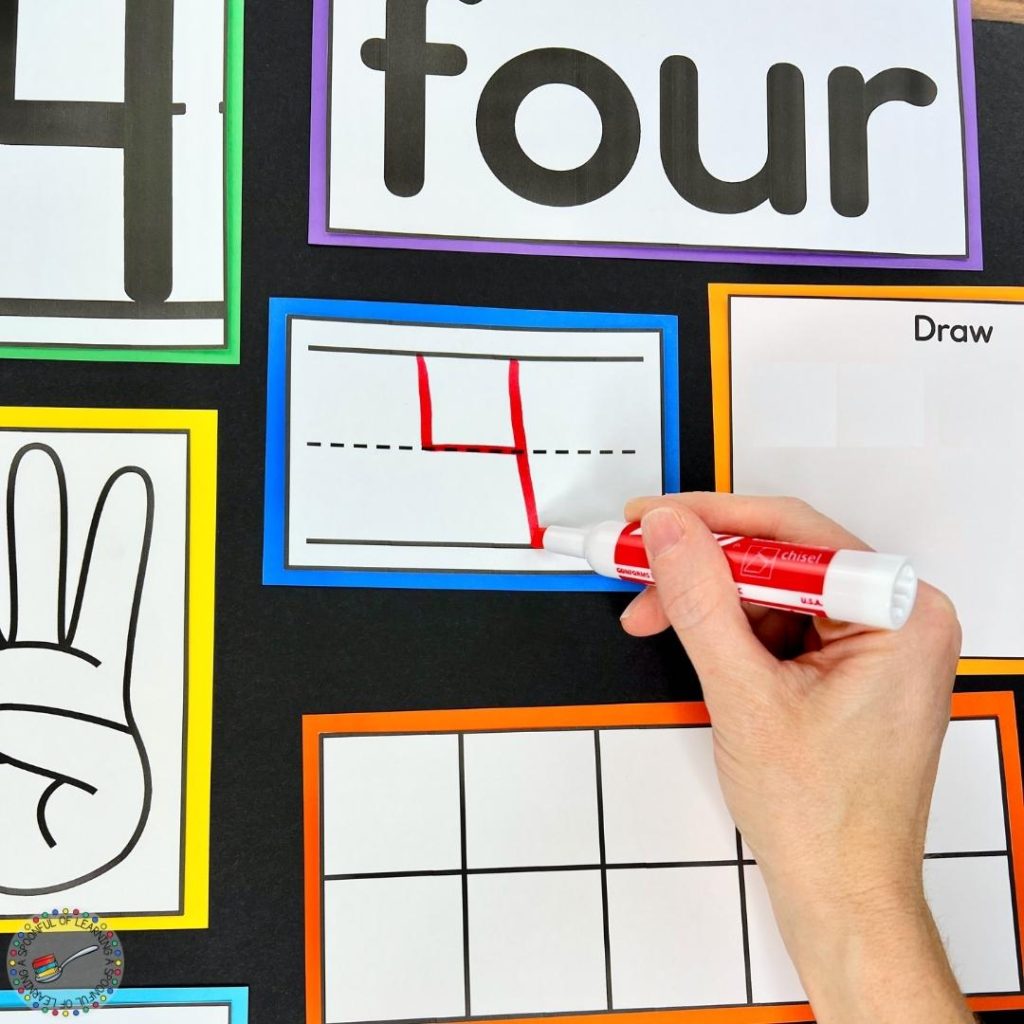
When we complete the number anchor chart as a class, I like to use dry erase markers. At the end of our week of learning about a number, we erase the chart and review everything we’ve learned by filling it out again! This gives more students an opportunity to participate in the interactive class activity. Plus, it’s fun to review and celebrate everything the students have learned about that number!
Would you like to save a few steps in creating your own number anchor charts? I’d love to help! I have created a resource with everything you need to create interactive number posters that you can use as anchor charts. All you need to do is print, trim, laminate (if desired), and attach to the paper or poster board of your choice. If you would like to take a closer look at this resource, you can find it in the A Spoonful of Learning shop or on Teachers Pay Teachers.
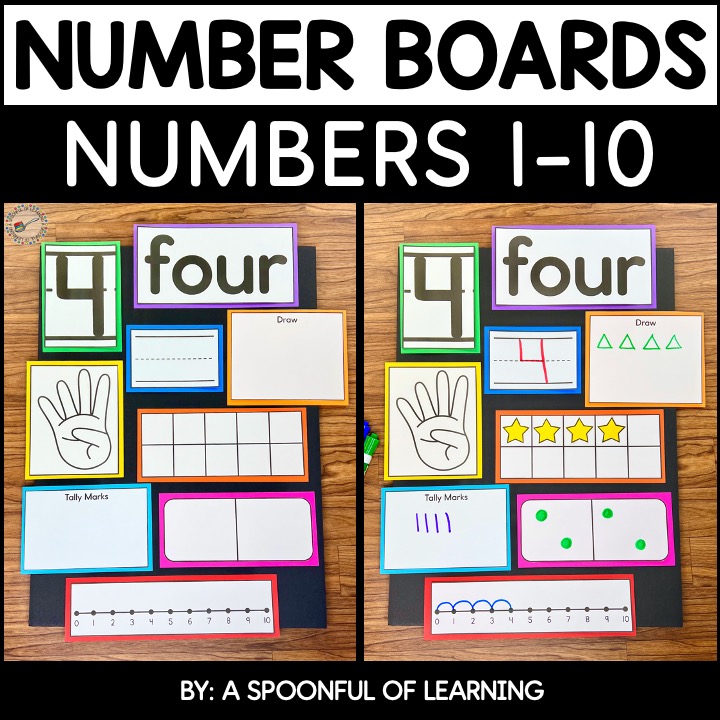
I hope these tips have inspired you to create your own interactive number posters with your students! I know your students will love being able to help you create these number anchor charts by filling in the different representations of each number. If you’d like to refer back to these tips later, be sure to save this pin to your favorite teaching board on Pinterest! You’ll be able to quickly find this post whenever you need it!
